Pin It button on image hover

Monday, 8 August 2022

F is for Fabulous by Doreen

F is for Fabulous

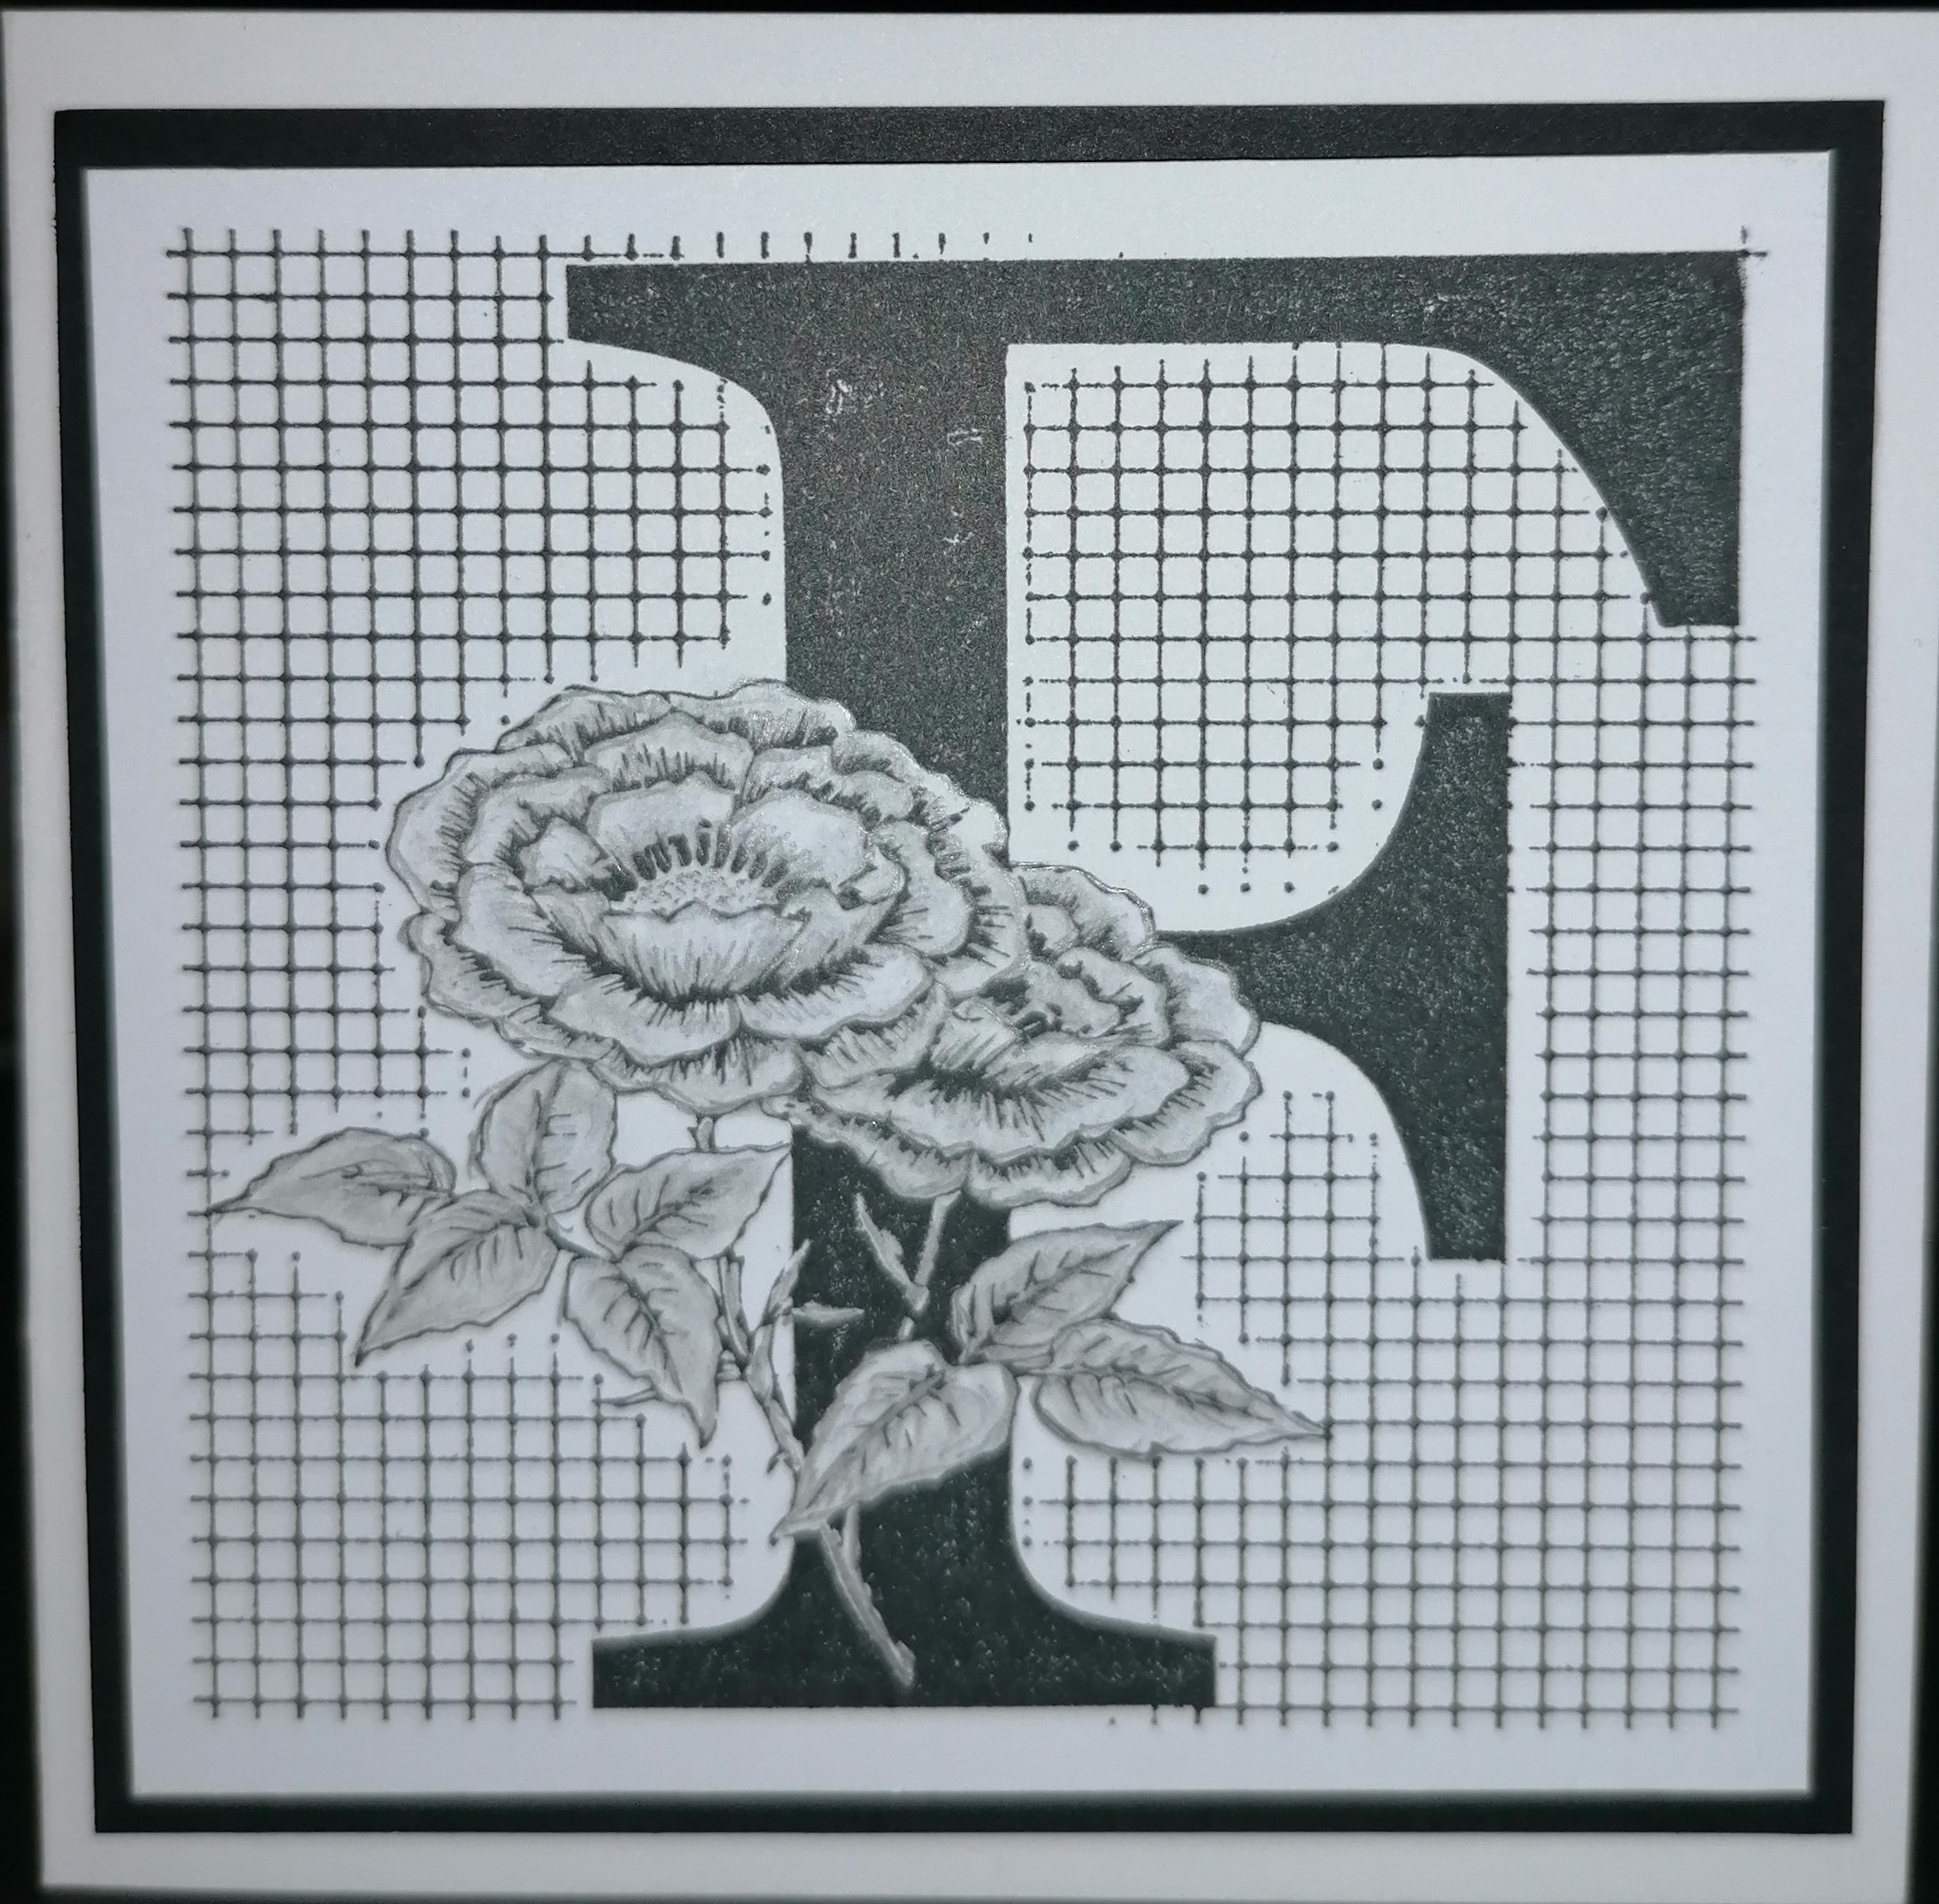
Well hello everyone and welcome to August a little late I know but better late than never. Today I would like to share a card with you that uses the F is for.... and the Small Graph Paper stamp set.


Firstly using Masking Tissue stamp in Versafine Clair Nocturne and cut out the image, then using the stamp again stamp onto a piece of card ensuring it is larger than necessary so as it can be cut to size later.

I heat set my image simply because of impatience and then cover with the mask, then take the Small Graph Paper stamp the image over the top of the masked area. Cut the card to size leaving a little border around the F is for and Small Graph Paper.  To add some depth to the image I used a graphite pencil. Then apply to the Black Card.

Once card has been mounted I decorated the envelope with a stamp of random dots and the word from the F is for .... set


Thank you for looking in today 

Love Doreen


Sunday, 7 August 2022

Ink Pens (by Magda) - Scrumptious Succulents, Wild Meadow,Words to Dazzle & Sparkle, Patchwork Butterfly, Blossom and Grow

 Hello,  I share with you today the result of using colored ink pens on Chocolate Baroque stamps. 

Card :  At first I stamped with Archival Jet Black in third generation Scrumptious Succulents and above a stamp of Wild Meadow. I used a green ink pen for coloring the succulents and marked with more strokes the "branches" of the stamped top down grass. I connected the small wisp and the succulents by strokes with a brown ink pen . On this trunk I stamped the little butterfly, that you can find in Patchwork Butterfly plate. The red spots on it and on the sentiments of Words to Dazzle & Sparkle are done with red ink pen. 


This Birthday Card has the same color for stamping and hatching Blossom and Grow stamp


I hope you liked this combination of colors, hugs
Magda


Friday, 5 August 2022

Monochrome With A Red Heart


These are some samples from the July's shows, there were lots of gorgeous stamps to use.  So for my first one I started by stamping out the graph paper as I wasn't quite sure what I was going to do, I stampede it twice and thought what is graph paper used for then I thought the paper for Heart Monitor machines and so I went on to draw the heart beat line and added in a hearts.  I matted and layered them adding a sentiment to it from Birthday Words , would have made a good Valentines card.


For my second creation we are Monochrome again, utilising the corners from the Butterfly Daisy Collage set,   So I stamped one of the corners and embossed it forming a square, out of the same set I stamped out the butterflies twice and fussy cut them.  I added them to two of the corners then added a sentiment from the Birthday Words set in the centre.

I will see you again towards the middle of the month for some more samples.

Happy crafting

Tracy x

Thursday, 4 August 2022

thistle butterfly (by Veronica)

I used a second generation brusho background for this card, first stamping the main image using distress markers spritzed with water, then overstamping in black versafine using a stamping platform.

Silhouette thistles in black round the edges to give some depth, and a black line drawn round the edges with a marker pen to finish. 

Once you had the background, this was a  fairly quick card as the distress pens added the colours to the image


Wednesday, 3 August 2022

Butterflies Galore by Sandra

 Hello, I am sharing some of my cards made for the Create and Craft shows in July.

This card features one of the floral images from Honeysuckle Butterfly stamp set.

I started with a piece of watercolour card slightly smaller than DL size. I put some blue Distress Ink onto my mat and spritzed it with water and dipped the card into it. I then dried this thoroughly with my heat gun. I stamped the Daisy image and coloured with the same colour blue Distress Ink, darker in the centre fading to white. I then added some yellow for the centres and green for the leaves. I finished by adding some clear sparkle over the flowers and adding a sentiment. I added a narrow mat of black card and layered onto my DL card base.


My next card uses an 8x8 card base. I cut a piece of smooth card about 2 inches smaller and stamped the Briar Rose image in Memento Ink. I then coloured with alcohol markers. I added some stencilling in the background with Distress Ink and a sentiment and mat and layered onto my card base.


My next card uses the leafy stamps from all the sets - Briar Rose, Harebell, Thistle and Honeysuckle Butterfly and these are available as a multi buy. I used my stamping platform to position my stamps and then placed a die cut with a sentiment in the centre. I used a sand coloured piece of card and green archival ink. I also notched out the corners with a punch.


My last card today uses butterflies from all the sets too.  I made a pop up box card with my cutting machine and covered the panels with Black and White papers. I then stamped and fussy cut the butterflies (replacing the antennae with wire) and added a few die cut leaves.


Thanks for looking

Sandra x

Tuesday, 2 August 2022

Blog Comment Winner for July


Hello and welcome to the Chocolate Baroque Design Team Blog.


We truly appreciate the time you take to let us know your thoughts about our designs, so each and every comment is very important to us.


Each comment in July was assigned a number and we used Random Org to draw a winner.


Congratulations to Mrs SIMS you have won this month's £15.00 voucher to spend on Chocolate Baroque stamps.

To claim your prize, please email here to confirm your email address and Lesley will send your gift certificate.


Lesley will be giving a £15 gift voucher to another lucky winner drawn from the AUGUST  comments.


The more comments you leave, the better your chances of being the winner.


Thank you so much for all the kind comments you leave.


Good luck from all on the Design Team


Here is another chance to see the beautiful creation by NATALIE.


Monday, 1 August 2022

A Pop of Colour (by Judith)

Hello everyone, I hope that you are keeping well. I have a project to share with you showcasing stamps from last month's TV shows on Create and Craft. This was one of the demos that I created on the show, and I really enjoyed putting this project together.

I started my card by colouring a piece of Drawing Cartridge with Distress Oxide Ink, I chose a blue and green ink. I placed it onto a craft mat, and spritzed some water onto the ink, before placing the Drawing Cartridge over the top. I dried the Drawing Cartridge, and then patted it onto the mat again, to pick up some of the left over ink. I dried the Drawing Cartridge once more and continued with the background.

I added some stencilling using orange ink. I also stamped the Small Graph Paper stamp using green Versafine Clair ink, simply holding the stamp in my hand, not on a block. This gave me the opportunity to use random parts of the stamp by curving the stamp, so that only a portion of the stamp touched the background. I used a definition from the F is for... stamp set to complete the background.

I stamped and embossed some flowers and a butterfly from the Butterfly Daisy Collage stamp set onto some patterned paper. I coloured the images with pencils and cut them out. I used the large flourish, and stamped the ends on the background, working out roughly where they needed to go by placing my flowers down first without adhering them. I stamped the butterfly antennae where I wanted to place the butterly on the background before I stuck the butterfly to the background. I curved the flower petals with my hands, but you could use a pencil or scissors to do this. I attached them to the card in between the flourish ends, and added some black buttons in the centres. I matted the background onto black card for extra drama to finish.

I will be back later in the month with more projects to share with you, thanks so much for stopping by.

Take care,


Judith xxx


Sunday, 31 July 2022

Retired but too beautiful to be redundant - Part 3 (by Zoe)

Good morning Lovelies, this is my final post for this month featuring these gorgeous retiring stamps.

I had so much fun making these samples, so much choice and versatility.

As most of you would know by now, I do love making Envelopes and Bookmarks, truth is! - they are quick and simple, but make a statement.

So here are so more of my samples from the shows, I hope you like them. 


Thak you so much for visiting.

Have a wonderful day xx Zoe xx

Saturday, 30 July 2022

Christmas in Mind by Doreen

 Christmas in Mind

Hello, today I would like to share some simple but effective cards for Christmas (yes I realise it is only July but it is almost August and I find this is when the months until December usually just fly by with me ending up in panic mode realising how little time I have to make cards for Christmas)

These stamps all come from the really useful Christmas Flourish set just using a variety of techniques.


In this first card I chose a background printed paper and I am sure we all have plenty of those in our stash. Then I took 2 blue shades of inkpads stamping alternatively.

So simple to add a subtle amount of colour with a sparkle gel pen, mount and your card is done.


This second card is even simpler if that is at all possible. Again I have used a background paper. Use an anti static pad over the paper and then a Versamark Inkpad stamp the image and sprinkle the whole of  the image with White Embossing Powder, heat emboss. Mount onto card and your card is complete.


This third card has a little more work than the previous cards. Take a piece of watercolour card sprinkle with Brushos I have used Prussian Blue and Orange, not too much a little goes a long way, spritz with water or a clear sparkle if you have one it is for Christmas after all.
Leave to dry naturally for the best results, when it is dry use an antistatic pad over the brushos then stamp with Versamark and sprinkle with embossing powder of choice, I used White as it seems to be my go to powder at the moment for some reason. I stamped little sprigs in black in the corners and mounted on black card for the best contrast to the colours I used.


My fourth and final card for today is simply using Gold Embossing on Black Card which gives a striking contrast, I also used a Gold Posca Pen to give a frame just around the inside edge of this card.


There ends a month of a variety of card using our wonderful Retired Selection of Stamps.
Mine will certainly still get an airing as once they are in your head I think they just pop in when you are trying to think of the perfect stamp for someone.

Thanks for Looking in again Today

Love Doreen


Friday, 29 July 2022

Tone on tone with a touch of colour by Natalie


This card uses brown tones and highlights to create contrast throughout this card.

Topper Panel

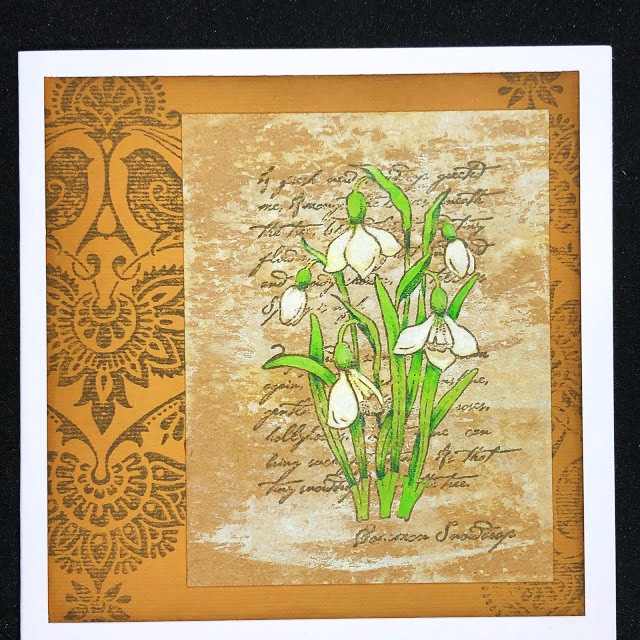
Grab a piece of Kraft card - I love working on Kraft card as it has so much opportunity for unusual techniques. For this top piece, we are first going to create a textured background using Distress Oxides. Lighter tones will really pop: Antique Linen, Scattered Straw, Spun Sugar, Tumbled Glass as well as Picket Fence can really pop. Lightly brush an edge of your ink pad across the rough side of your card. Once you've applied the ink, mist the card very lightly with water to activate the Oxide. You can use a couple of colours, but do allow to dry between colours.

Stamp your chosen stamp with a permanent ink pad that doesn't smudge with water. Colour your image using gouache based paints rather than watercolours. These are more opaque and need very little water. As you are painting on a darker surface, remember more water means darker rather than lighter. Worth practicing on a scrap to check your colours first.

Background Panel

The background is a textured warm light brown card. This time instead of creating texture with the ink pad, we are going to use the texture of the card itself through our stamping. This means when stamping, you don't want to be pressing so hard. Better to do several light stamps than pressing. Use a good quality ink pad that gives a dense coverage as it will make your stamping easier.

Blend with a dye ink pad that matches the card colour so you get a soft vignette.

Mount the two pieces onto a white card blank.

Wednesday, 27 July 2022

Quick and Easy Cards (by Corine)

Hello!

Here I am again and would like to show you my 3rd card as a guest designer. This time I made two simple cards.


I used the stamps from these sheets:

Floral Notes

Tangled Fragments

Harlequin Fragments 

To make this card you need a stamping tool. Place a piece of white watercolour paper on the stamping tool, attach the background stamp to the stamping tool. Apply two colours of Distress Oxide (Salvaged Patina and Kitch Flamingo) or Distress Ink (Salvaged Patina and Shaded Lilac) on the stamp. Let this air dry.

Stamp the flower with waterproof black ink on the background print and colour the stamp with watercolour pencils.

As a finishing touch, I attached a text sticker to the card. I coloured the edges of the sticker with black ink using a blending tool.


It is also nice to give the flowers an extra dimension with a glitter pen or a white gel pen.


I hope to have inspired you again now, and if you want to try out the technique for these cards, I wish you good luck and have fun.


Kind regards,

Corine van Kuilenberg. 

Tuesday, 26 July 2022

Just Bugging Around


Hello, I'm here with my last post for this month, showing some more of my samples from the shows in June.  I loved making this first card as I think that Monochrome is so effective.  I stamped the flowers which is from the stamp set The Rose Tree and embossed with clear embossing powder, then did the same with the Bee and the sentiment (which is from Birthday Words). Quick and simple but lovely at the same time.  All that was left to do with it was to matt and layer it.


For the second card I cut my cardstock to size then using three different coloured inks and a small acrylic block, I inked the block in turn with the three different colours, spraying with water then pressing on to my card to create the three coloured blocks.  Using black ink I stamped the three insects that comes with the set The Rose Tree,   I matted that on to grey card, then for the background piece I used grey ink and stamped the Dandelion all over.  

I will see you next month for some new samples for the July's shows
Happy crafting
Tracy x


Monday, 25 July 2022

dragon dance (by Veronica)


 For my last post  this month I had to share the 
gorgeous dragons, - I just had to buy  this set when it first came out, and I still love it.

I stamped the largest dragon three times, then sponged distress oxide inks round the dragons to create a fiery look, then coloured the dragons with distress markers in similar  colours. 

Using Lesley's technique of watering down stickles and painting I added glitter heavily to the wings and used the very diluted remnant of a very ancient bottle of stickles on the bodies. The glitter doesn't really show on the scan, but it is very definitely there!


Saturday, 23 July 2022

Some of My Favourite Retired Stamps (by Sandra)

Hello everyone. I am sharing some more of my cards from the Create and Craft show in June.

My first card uses the Parfum de Paris stamp set.
I took an 8x8 card blank and mat and layered two patterned papers for my background. I then stamped the flourish background in archival ink and mat and layered this. My final layer was the script stamp from the set. I finished with a small resin Eiffel Tower.


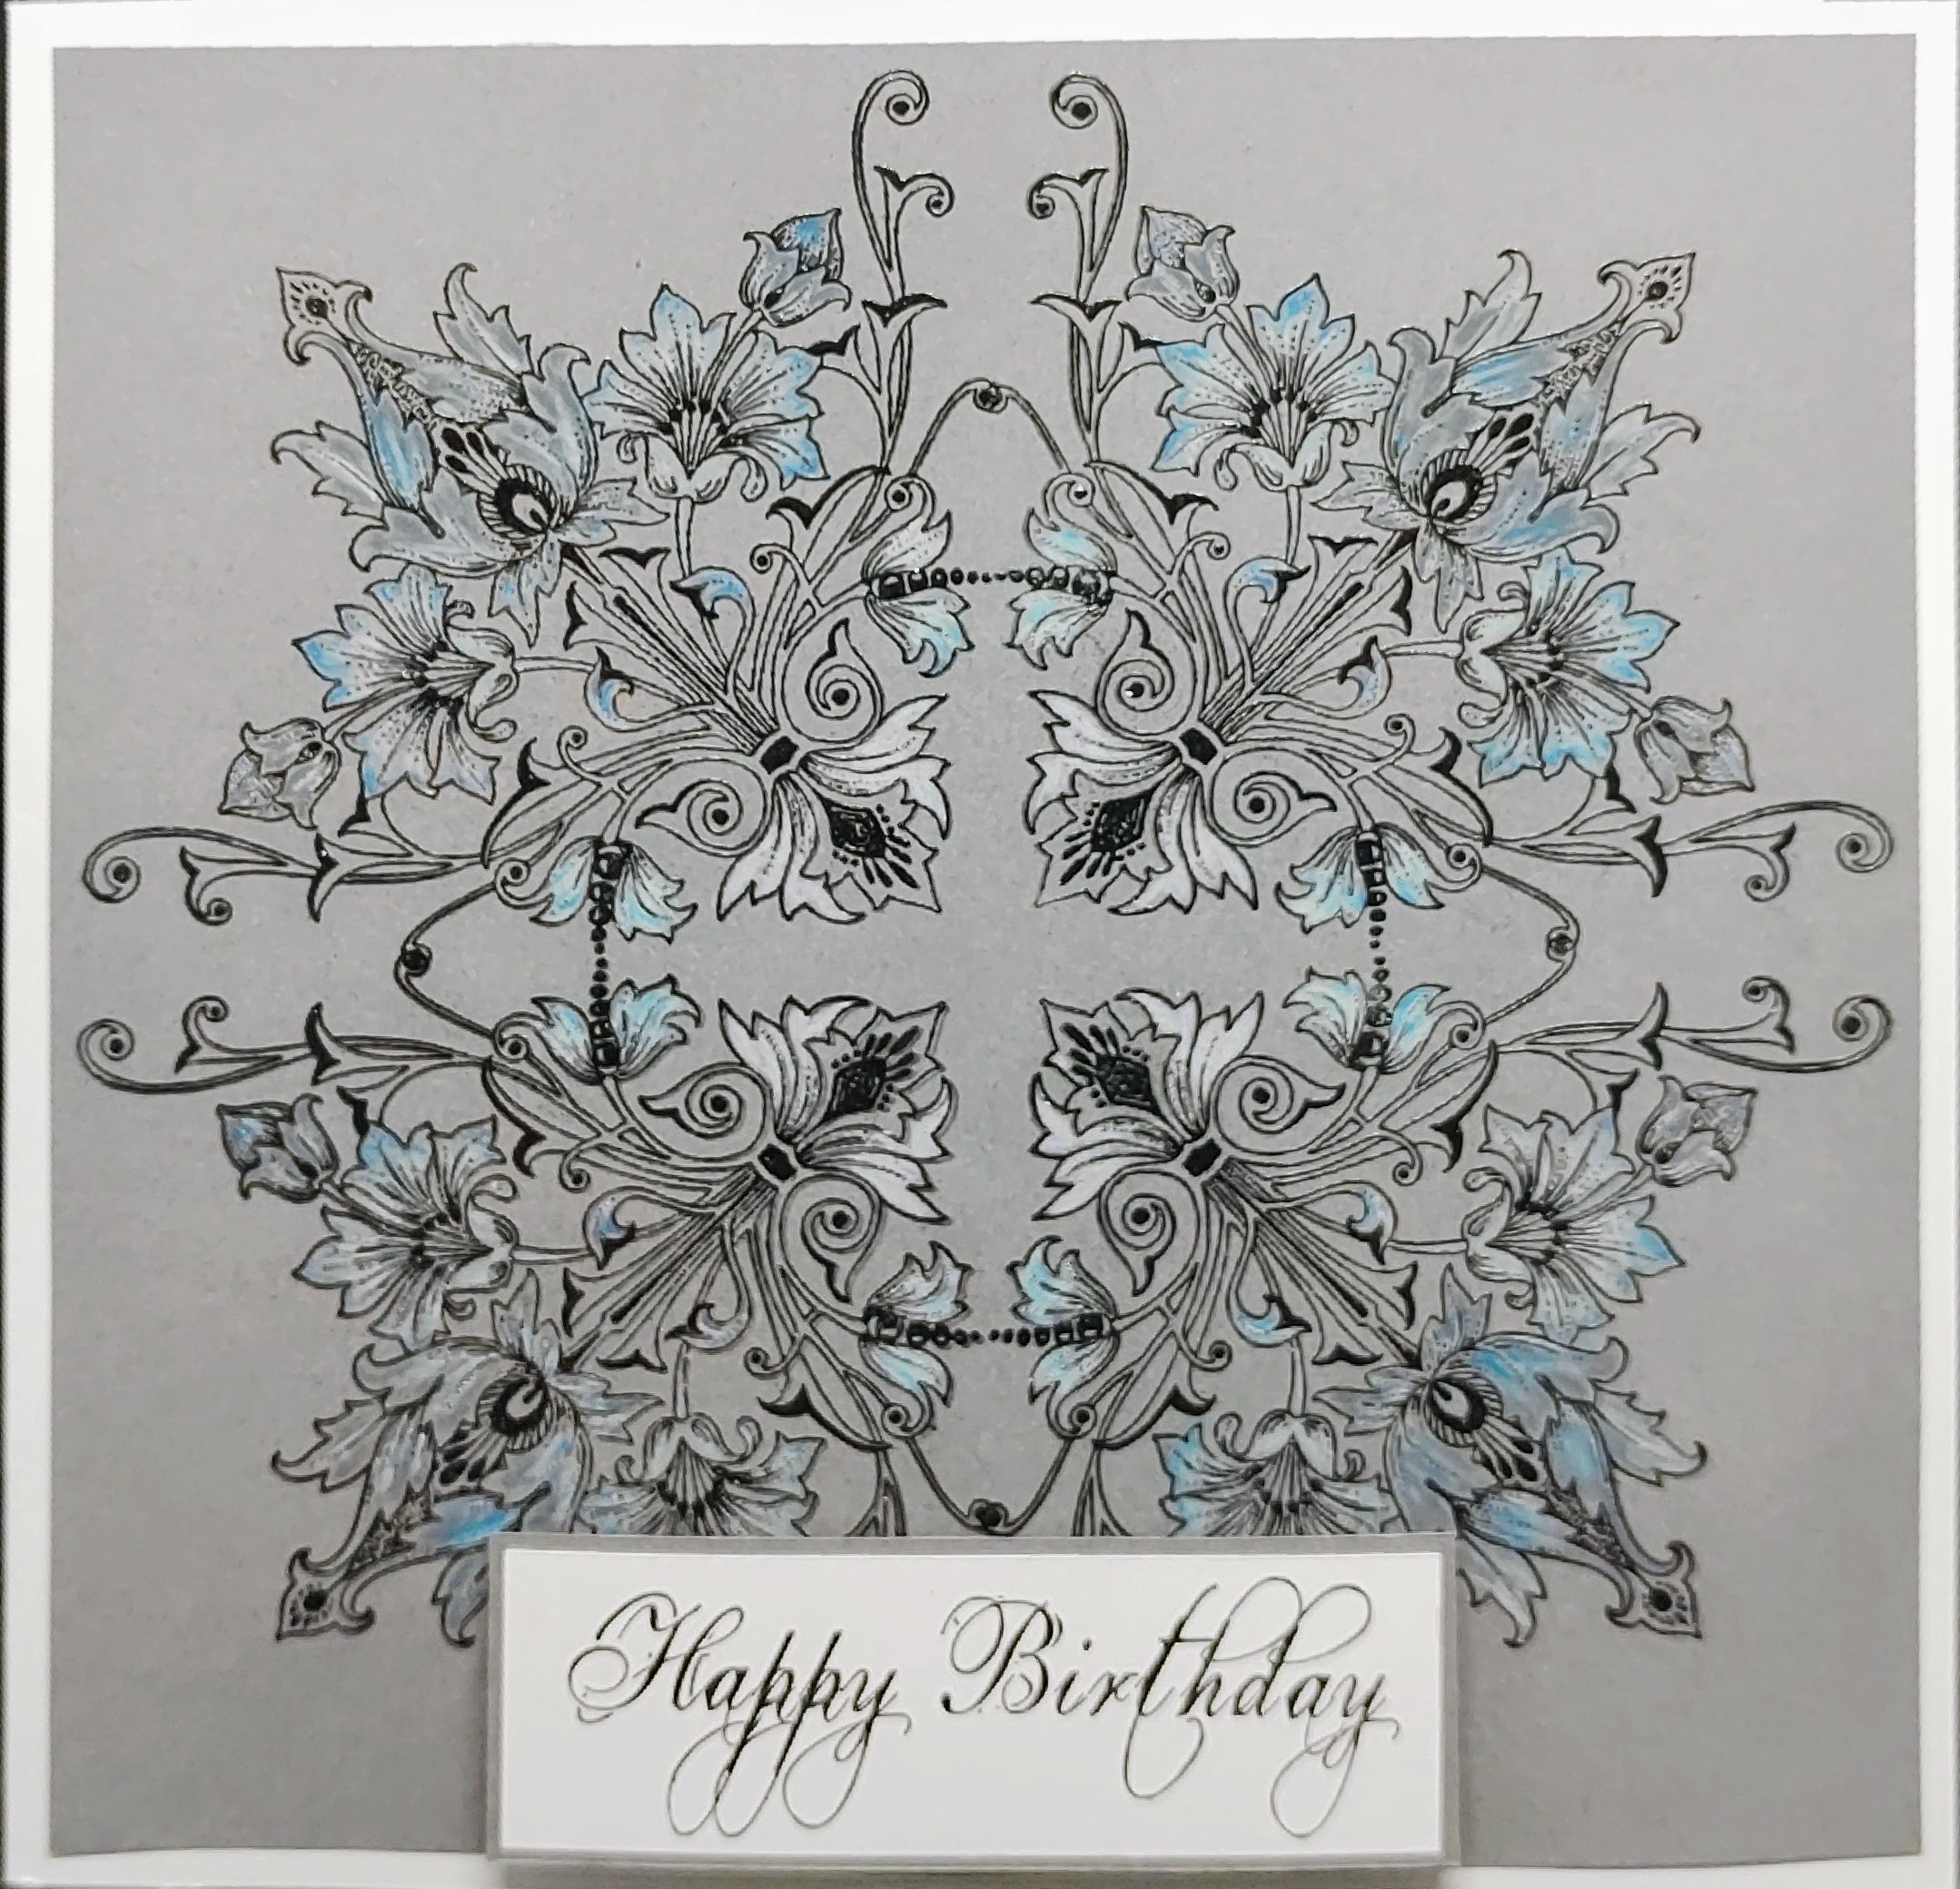
My next card features the beautiful Baroque Corners. I used my stamping platform to stamp and emboss  the largest corner stamp 4 times onto some grey card. I love how different patterns emerge, like the circle in the centre. I then used a selection of pencils to colour in just parts of the stamping. A very elegant stamp.


My last card today uses the Bird Song stamp set. I made a gatefold card using 15x 42cm card base.  I made three slightly smaller panels, 2 for the front and 1 for inside.  On the outside panels I stamped the bird house and on the inside panel I stamped the bird bath and swirls. I added some blended Distress Ink and mat and layered onto black card.


 Thanks for looking

Sandra xx

Friday, 22 July 2022

One Stamp Two Ways (by Judith)

Hello everyone, I hope that you are keeping well. I have a couple of projects to share with you today showcasing some of the retired stamps that we brought to the TV shows on Create and Craft last month.

I always love to show the versatility of a stamp and this lovely leafy stamp from Brocade Backgrounds, an all time favourite of mine, is no exception, I have used it a lot over the years. You can find plenty of fabulous stamps in the current range of Chocolate Baroque stamps that would work equally as well for these techniques.

For my first card, I used a piece of grey card, and stamped the leaf using black ink all over the background. I used Koh-I-Noor colouring pencils to colour the images, and added a touch of green ink around the edge of the card. I added a sentiment from Amazing Mackintosh Words and a piece of green velvet ribbon to finish.

For my second card, I stamped the leafy image with Versamark and clear embossing powder over a piece of Drawing Cartridge before colouring the background with Distress Ink. I covered the background with paper and ironed off the embossing powder, creating a faux batik finish. I then stamped the second image over the top using a dark blue Versfine Clair ink. I added a sentiment from another of the retiring sets.


I have thoroughly enjoyed revisiting some of these old favourites, but there are so many more exciting things to come! Thanks so much for stopping by, take care,


Judith xx

Thursday, 21 July 2022

Retired but too beautiful to be redundant - part 2 by Zoe

Good morning Lovelies and welcome to my second post this month featuring the wonderful retired stamps from last months shows.
I hope you managed to some bargains.

I have paper pads in my stash that I’ve had for years, I just never use them, I like creating my own backgrounds usually but I thought it was about time I gave them an airing. 

These stamps are so beautiful and versatile that even using pre-printed paper pads for the backgrounds did not detract from the detail on the stamps.

First 2 cards, I stamped using Versafine Claire Nocturne and heat embossed using a clear sparkle embossing powder.

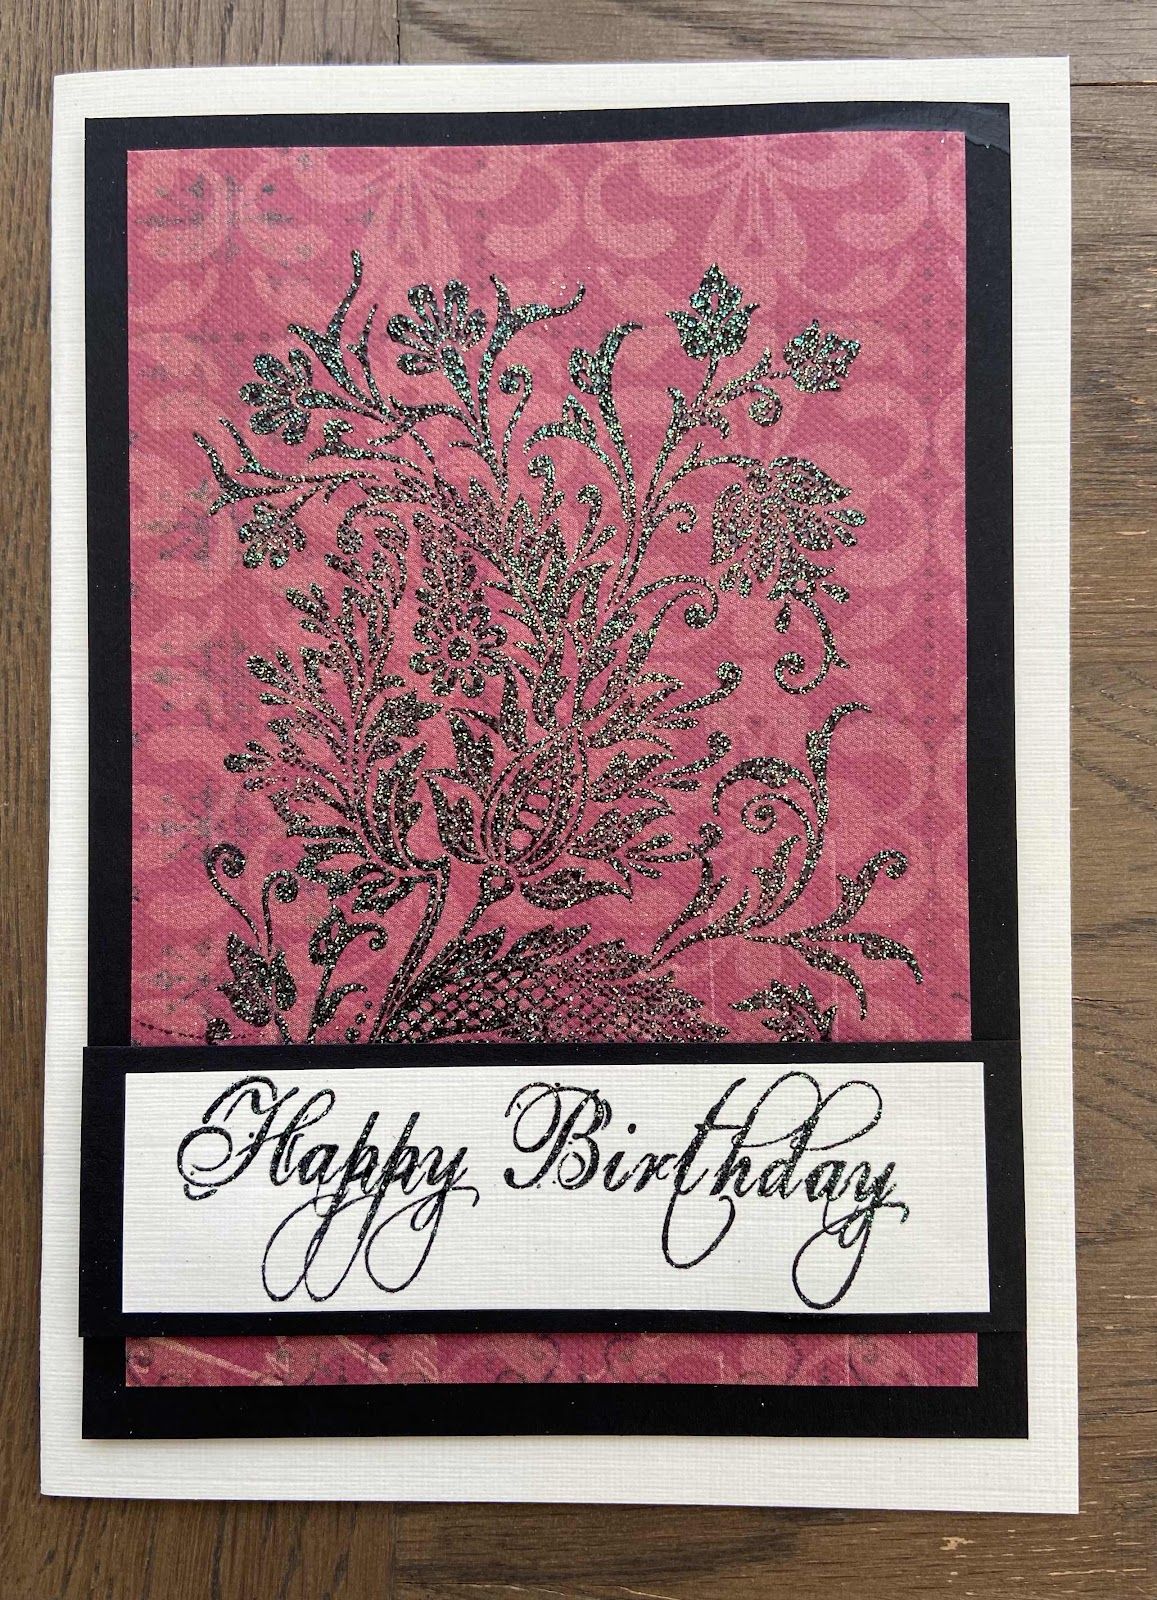
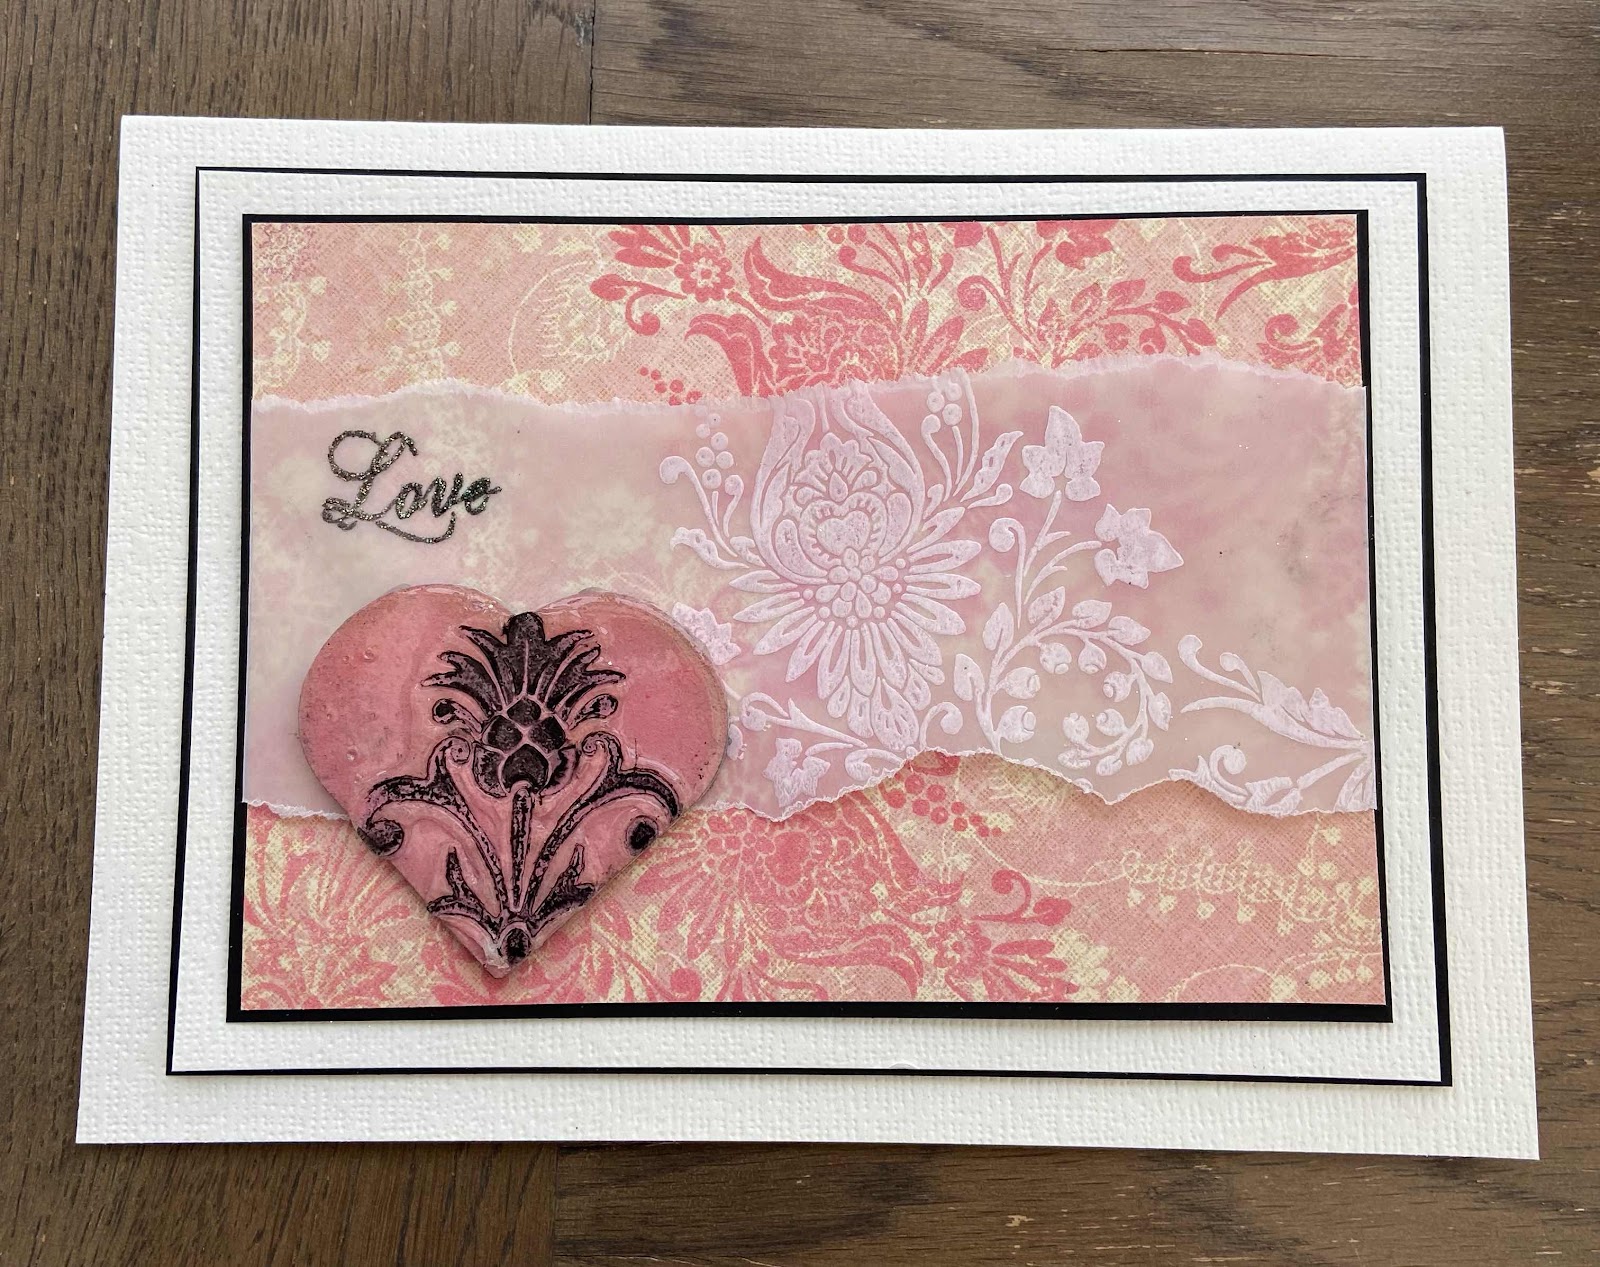
Third card I stamped using a pink Distress Oxide ink pad and heat embossed with clear EP on the background paper, then white EP on Velum and an MDF heart which I gessoed then coloured using the same Oxide ink pad and used an Ultra Thick Embossing Enamel (UTEE) and whilst molten inked the stamp with black ink and stamped onto the heart.

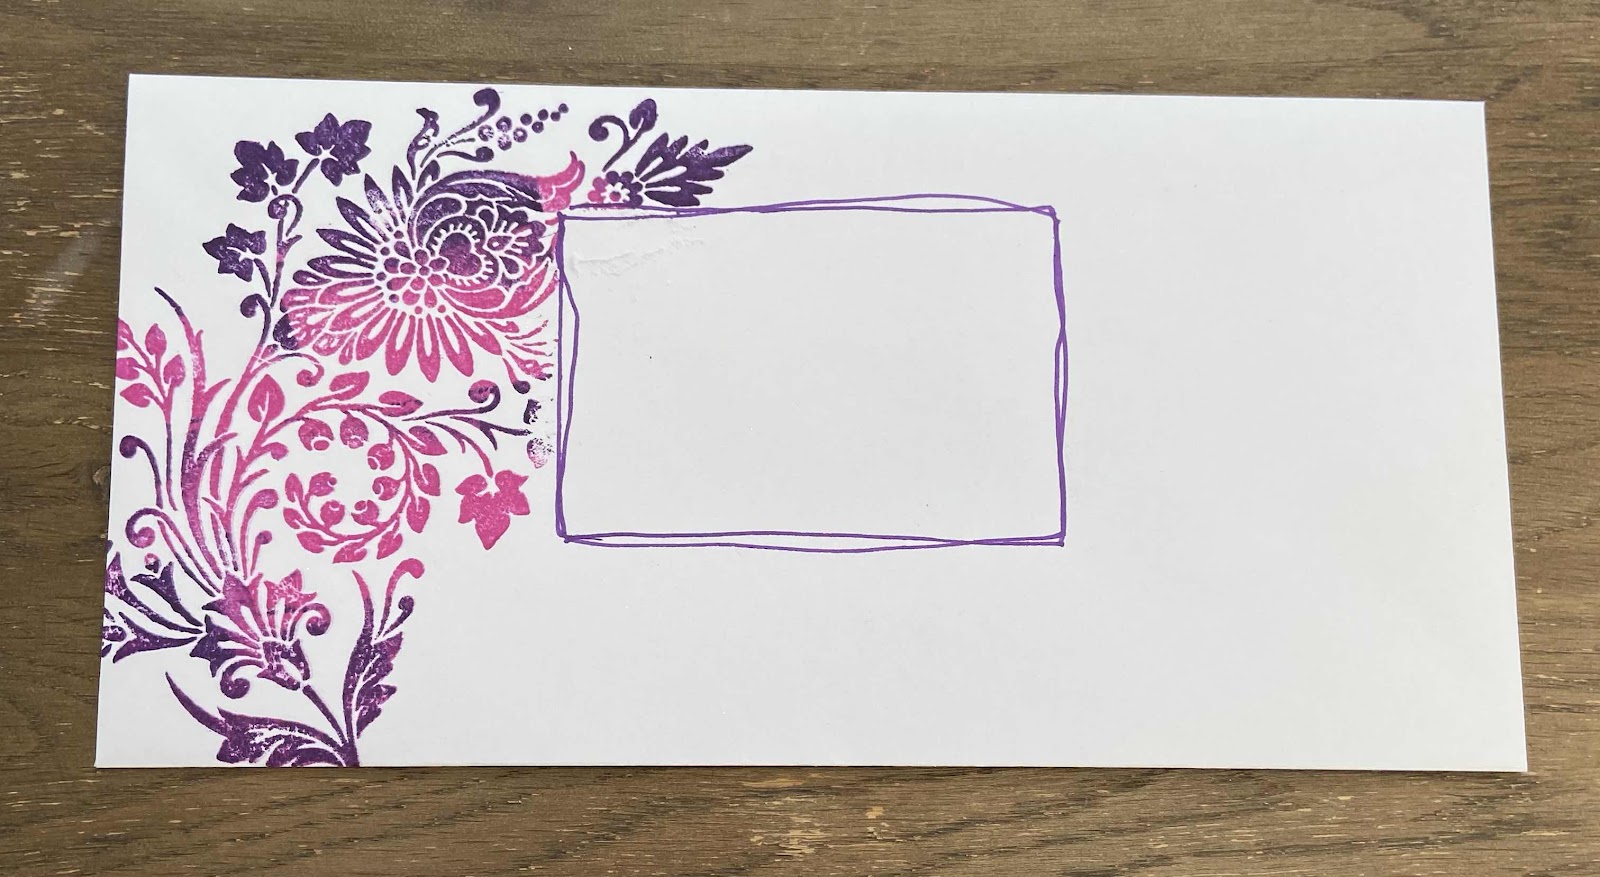
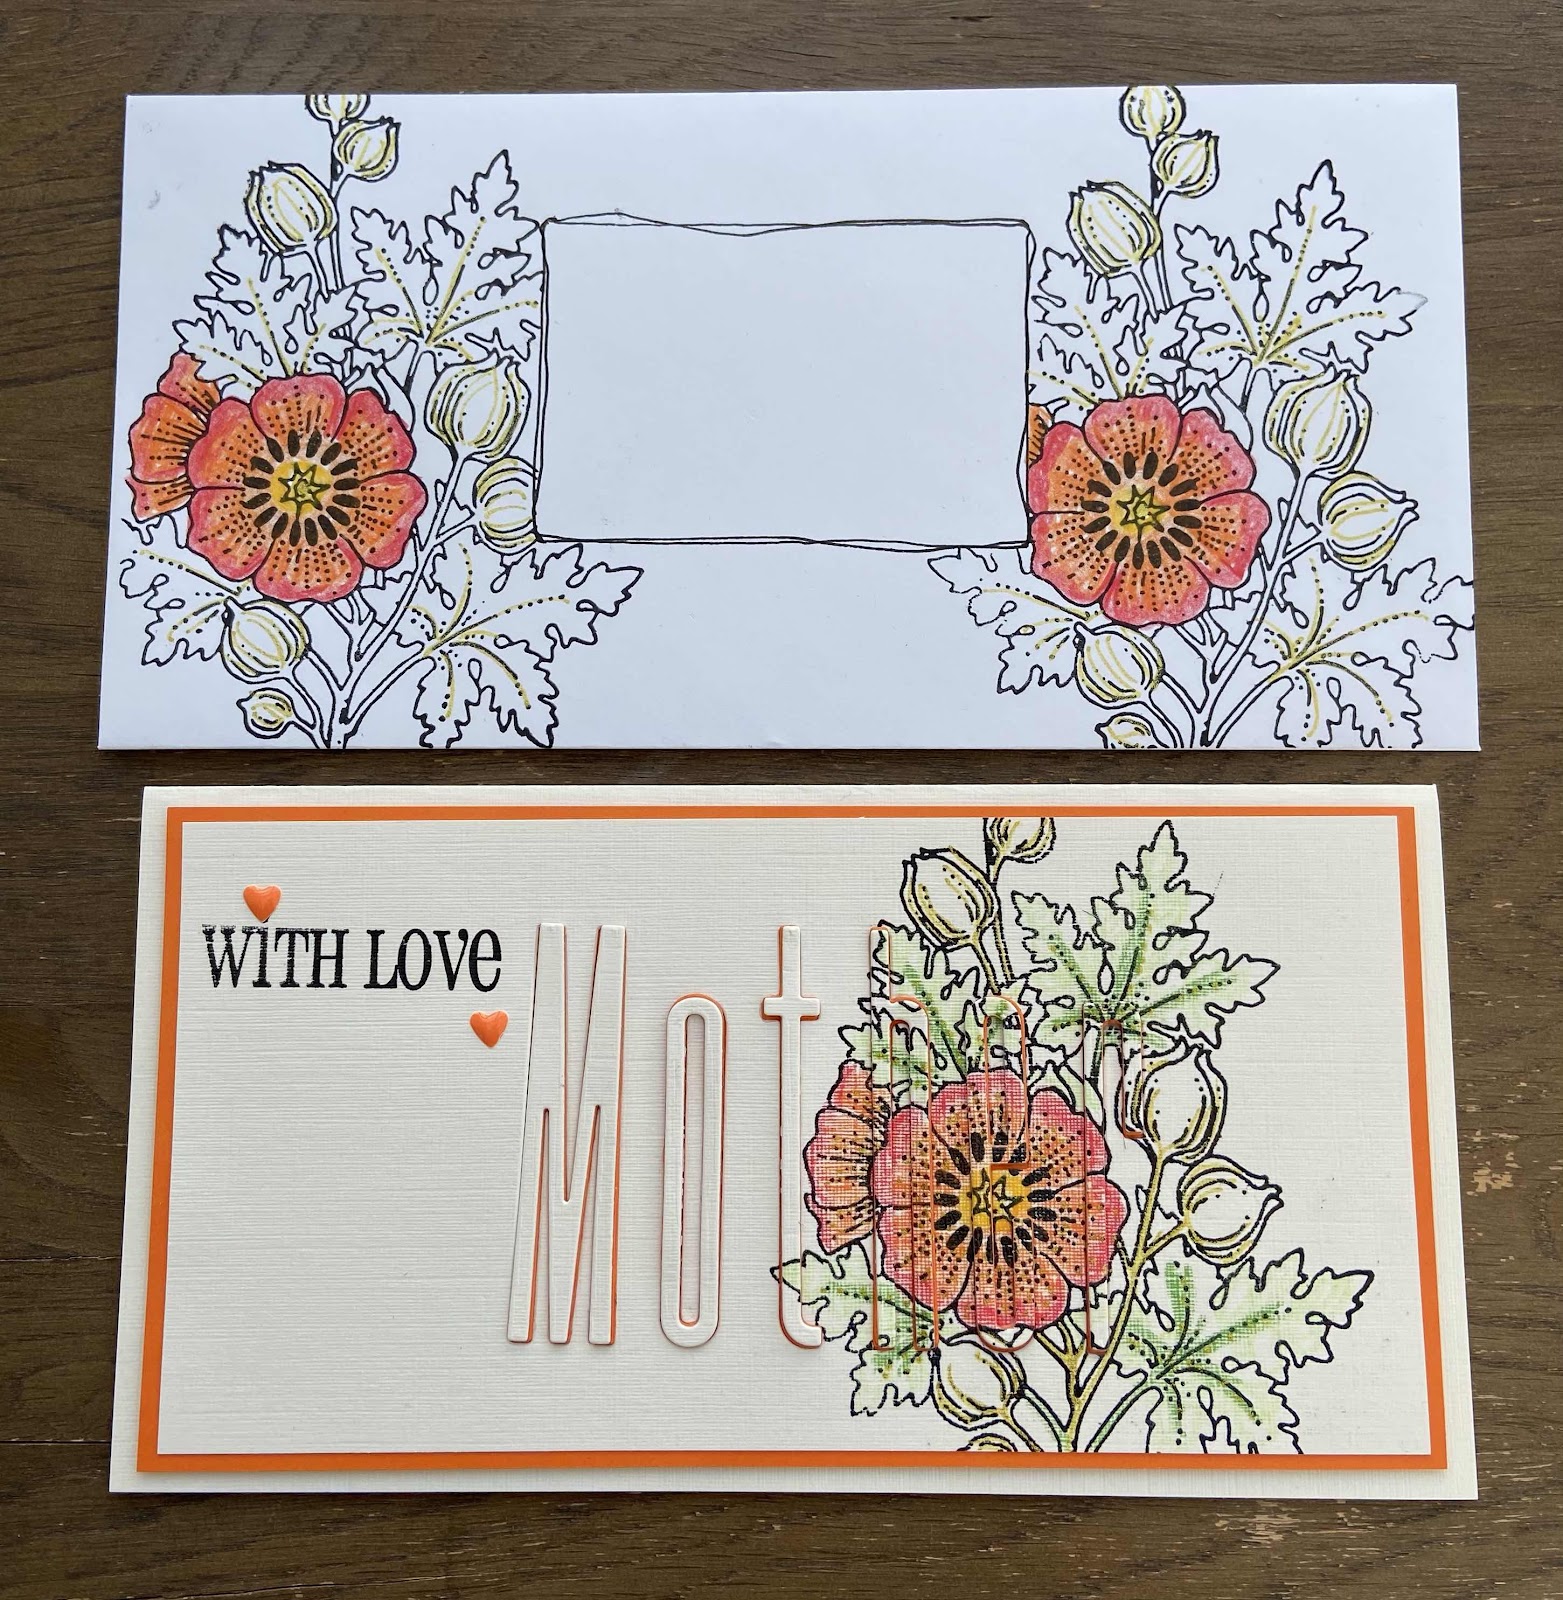
Love doing Eclipse cards and of course I always love doing Envelopes so why not do matching? 
It does actually say “Mother” but it doesn’t all stand out as much.


Thank you once again for visiting.
Have a wonderful day xx Zoe xx 

Wednesday, 20 July 2022

Lonely Tree (by Corine)

Hello!

Here I am again. This is my second post this month. Today I share a fairytale with you. I had so much fun making this card with the masking technique.


I used stamps from the sheets:

Fantasy Woodland

Poppy Meadow

I made the base of a background with Brusho. Brusho always gives surprising effects. I first make a background and only think then how to proceed.

I do not apply too much Brusho on the watercolour paper. I started with Yellow at the bottom and the Turquoise at the top. Spray with the water and do this step by step. Not too much water in the beginning. Let the wet Brusho dry thoroughly.

Stamp the tree with Stazon Jet Black. Mask the tree with masking tape. Use a stencil to apply 'sun rays' in the top left corner. I sponged it with Distress Ink Fossilized Amber. I made the leaves in the background using a stencil and Distress Ink Peeled Paint.

Under the tree I made soil with torn paper and sponged with Distress Ink Brushed Corduroy.

I stamped the flowers with Archival Vintage Photo.


 The tree has been coloured with watercolour markers and for the shadows around the tree I used a charcoal pencil.

I hope I have inspired you. If you want to try this technique, I wish you a lot of fun.

Until next week!

Kind regards,

Corine van Kuilenberg

Tuesday, 19 July 2022

Monochrome Beauties by Doreen

Monochrome Beauties 

Hello, well here I am with my second post of our retired sets of stamps, I have to say I absolutely love Monochrome Cards.

The only things to remember when making them I find is check your hands for traces of ink regularly. Use a fairly new Inkpad or reink it but not to liberally and let the ink settle into the pad before use.  I find the best inkpad to use is the Versafine Clair Nocturne it is a really nice inkpad to use and does the job well. A good quality smooth card is essential for a perfect finish. Luxury Smooth Card by Chocolate Baroque is my choice of card for this type of card. The only other advice I can give is to practice your ideas on a piece of copy paper until you are happy with your result.


Here are two of my cards using Fly Away With Me in the first card and the second card contains stamps from the Baroque Corners set and The Dawn Chorus set.


Many Thanks for Looking in Today

Love Doreen


Monday, 18 July 2022

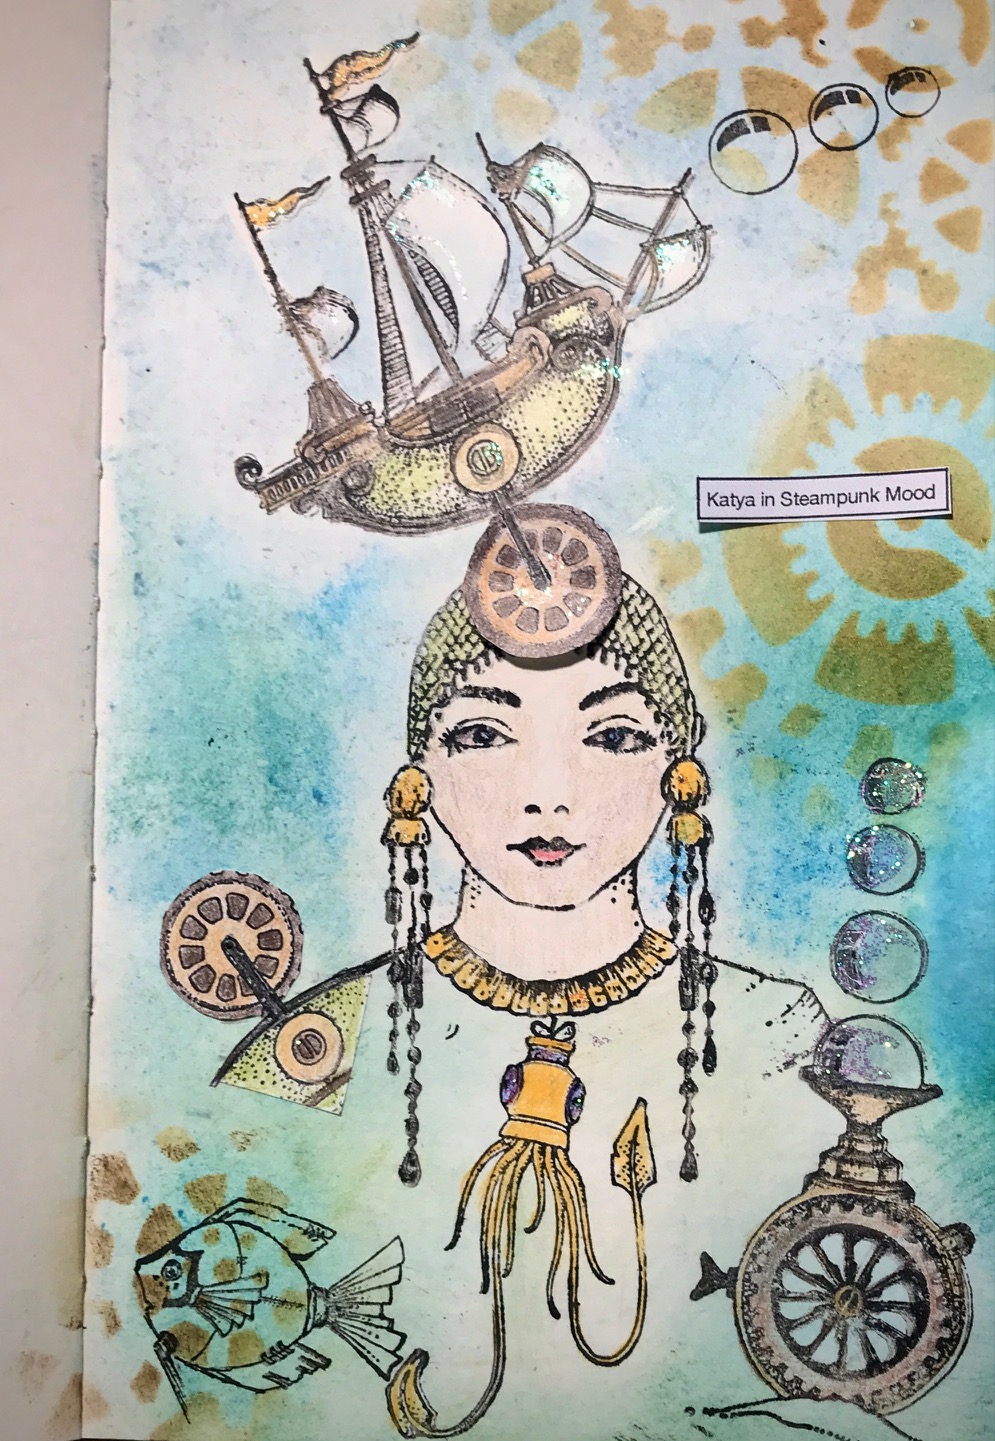
Katya in Steampunk Mood (by Magda) - Katya, Steampunk Sea Word

 Hello everyone,

What do you think of this Katya floating on the bottom of the sea ?

For this page I used Distress Ink Pad,  Archival Jet Black and two beautiful plates of Chocolate Baroque Katya and Steampunk Sea World.

I hope you will accept this variation and I thank you for passing by, hugs

Magda


Sunday, 17 July 2022

Cool Crafting by Natalie


Christmas Crafting

In previous years, typically on the hottest day of the year is when I start making may Christmas cards. This year, it could be a bumper year if the predicted temperatures are correct. Here's my tips for staying cool while crafting...

  1. Keep warm or strenuous activities to cooler times of the day or locations. These include heat embossing, laminating, drying prints artificially or gluing with glue guns. 
  2. Adhesives can be affected by heat not only when using, but also when being stored. Move any sheet or tape adhesives into cooler storage and use at cooler times. You should also consider your pens, wax based crayons, inks and paints if they are in a warm spot.
  3. Keep a bowl of iced water in your crafting area to help lower the local temperature. 
  4. When the warmer temperatures can no longer be avoided, keep to more sedentary techniques. Die-cutting/embossing with an electric or electronic cutter, colouring, stamping with rubber stamps are all fabulous to do in batches.
  5. Keep a drinks flask handy so you are kept refreshed during your crafting session. A cool flannel applied to your wrists can also help to lower your temperature.

The Card Project

For this project, any snowy landscape (or any landscape if you are confident adding snow) will do. This one is a retired stamp, so take a look at The Gift of Christmas as a great alternative design.

This card is painted using gouache paints which take very little water by comparison to watercolours. Making them ideal to use with water brushes. Squeeze a little water into the pan you want to use, then stir the paint with your brush. Whereas with watercolour we want a milky texture, with gouache we go a little thicker. These paints are opaque, so you want to carefully paint around your outlines, or conceal them beneath your paint for a no-line finish.

Choose a cardstock that can take water: a good watercolour paper or mixed media (for wet work) paper are both great choices.

Swap your black ink pad for a softer grey pad, but it needs to be permanent and non-water reactive. I used the Ranger Archival ink which is oil based and ideal. A softer outline will enable a more realistic result without going all the way to no-line colouring.

The finishing touch you can't see in the photo is a touch of sparkle. Use a clear shimmer pen over the top of your painting. It will soften your painting slightly while giving a festive sparkle without having to go all out bling.

A textured metallic or pearlescent card can be a more subtle mount than glitter card. However, the choice is yours.