Pin It button on image hover

Wednesday, 3 July 2019

To Have and To Hold and Purple Sunshine by Penny

Hello everyone, I hope you are all enjoying the lovely weather - if you have any in your area lol!  This is my first post of the month, and I have a couple of 'golden oldies' to share with you today.  

To Have and To Hold Heart.


I have used stamps from the A Heart Full of Love set; Versamark ink, silver EP, pearlescent paints, silver Brilliance ink, CB Masking Tissue, a die cut, some gems and some paper flowers from my stash.  


I started with an A4 piece of white pearl card which I scored and folded to create my base card.  I then stamped the large floral heart with Versamark and embossed it with silver EP.  I then masked the image and stamped another heart image randomly with silver Brilliance ink.  I removed the mask and painted the floral images.


On another piece of pearl card I stamped and embossed the floral image again, painted it and added glitter to the centers of the flowers.  I cut the image out and decoupaged it  in 3D onto the focal image.  I stamped and embossed a sentiment in silver onto another piece of pearl card then die cut it with a heart shaped die from my stash.  I attached the heart to the card with 3D foam then added some paper flowers from my stash.  I added some gems to the sentiment heart and added another sentiment with die cut letters from my stash, cut from silver card.  I added a couple of blue gems from my stash to accentuate the die cut sentiment and complete this simple and lovely design.


Purple Sunshine.


This is a bright cheerful design that could be used for many occasions.  I have used stamps from the Mushroom House, The Toadstool Garden and May Fairy sets; grey Archival ink, alcohol markers, Distress inks, CB Masking Tissue, and some shrink plastic from my stash. 


On a piece of matt silk card I stamped the Mushroom House image centrally and masked it.  I then stamped it twice more either side of the first image.  I removed the masking tissue and coloured all the images with my pens.  I matted the focal panel onto some colour co-ordinated card.


On a white base card I stamped one of the worker stamps from the Toadstool Garden set repeatedly around the edges of the card, I then attached the focal panel.  I stamped a couple of silhouette fairies onto some white shrink plastic using DIs, and cut them out.  I then shrunk them using my heat gun and attached them to the card.  On a spare piece of card I stamped a sentiment in DI and partially stamped the worker image  around the edges.  I matted the panel to coloured card and attached it with 3D foam.


Thank you for stopping by today, I hope you have enjoyed this post, and that I might have tickled your crafty fancy and inspired you to have a go.

I shall be back later in the month with more crafty fun, until then I hope you will keep checking out the DT blog to see what my teamies are up to.

Take care peeps,


                                xx   Penny  xx 

Tuesday, 2 July 2019

June's Blog Comment Winner


Hello everyone, 

We truly appreciate the time you take to let us know your thoughts about our designs, so each and every comment is very important to us.
Each comment in June was assigned a number and we used Random Org to draw a winner.
Congratulations to Pat, you have won this months £15.00 voucher to spend on Chocolate Baroque stamps. To claim your prize, please email here to confirm your email address and Lesley will send your gift certificate.

Lesley will be giving another £15 gift voucher to another lucky winner drawn from July's comments. The more comments you leave the better your chances of being the winner.

Thank you so much for all the kind comments you leave.

Good luck from the Design Team

Monday, 1 July 2019

A Bunch of Roses (by Judith)

Hello everyone, I have two projects to share with you today using little worker stamps. These small stamps are often overlooked on a stamp set in favour of the bigger images. You can quickly create a lovely card using the small images by creating a bckground, and adding a sentiment or topper.

My first card uses some images from the Rose Set, with a Rennie Mackintosh feel to them. I love this style, and chose soft colours to create a vintage look for the card. I placed a circle mask onto a piece of drawing cartridge, then added colour to the background by placing some chalk ink onto a large acrylic block, spritzing it with water, and dragging it across the drawing cartridge. Once the background was dry, I stamped the two small rose images with burgundy and green ink, and stamped them in first, second and third generation stamping randomly over the background.


I removed the mask and embossed the sentiment in the middle using gold embossing powder. Using gold embossing powder again, I stamped the larger circle image nine times onto a spare piece of card. I coloured the image using the same colours of ink that I had used on the background, adding the colour with a water brush. I cut the circles out and attached them using 3D foam.


For my next card, I stamped the little rose sprigs from the Rose and Thistle stamp set randomly over the background. I added a topper stamped with an image from the Rose Stem Script stamp set. In my fabric sample, I added a sentiment from the Words to Dazzle and Sparkle stamp set. The images were coloured with Inktense pencils.


In the second sample, I stamped onto Textured Art Card to give a feeling of fabric, and coloured the images with Koh-I-Noor paints. The sentiment comes from the Rose Stem Script stamp set.

Thanks for stopping by,

Judith xx

Sunday, 30 June 2019

Mushroom house

Hello every one, I hope you are all fine. Today it's my last post as a Design Team member for Chocolate Baroque. I had a great time in this team and I am going to miss them. Thank you all also for all the lovely comments on my posts.


Here I stamped the image with Versafine Onyx Black and I coloured it in with Distress Ink.

Hugs Marga


It is always sad to see a Design Team member leave, we want to wish Marga all the very best in the future. We will miss her and her amazing artwork, Good Luck Marga!


Saturday, 29 June 2019

A Trio of Mushrooms (by Julie)

Hello, today I have three cards with a mushroom theme.


My first card is from a new set called the Toadstool Garden. It is such a beautiful design and takes any hard work out of designing a card as it's all done for you. I simply stamped the image with Warm Breeze, Versafine Clair ink and coloured with pencils. I sponged Distress ink in the background with a few dabs of Crystal Stickles for added interest and the card was done.


My second card is made with Autumn Poppy and Autumn Edges
To start with I inked up the mushroom design from Autumn Poppy using Sepia Versafine ink and stamped in the centre of my card blank, followed by colouring in with pencils. The leaf border was inked up with the same ink and stamped around the edge. By more luck than judgement  I chose a card size that fitted the border and did not need masking, making this quite a quick card. To finish off I applied Mustard Seed Distress ink around the edges


My third card is stamped with another new design called Mushroom House and can be used very simply by just stamping and colouring with pencils. I have just layered the design onto a DL card and added some glitter glue to the tops of the mushrooms.

Thanks for stopping by. Please call back soon for more Design Team inspiration.

Julie xx

Friday, 28 June 2019

More Mushrooms by Rachel

Hello there! Rachel here today with another offering using the Mushroom house stamp.

I created this card by starting with a gelli print. I had already taken one print from an inky plate and this is the very soft and muted second print. Onto this I stamped the Mushroom house. I chose blues and browns for the colour scheme as they work so beautifully together... I thought blue mushrooms might be quite unusual too! All colouring was done using water colour pencils. I also edged the card blank in the blue colour too. Lastly I created a lanscape behind the image and also coloured that in blue. 

I hope you have a wonderful day!
Big hugs

Rachel xx

Wednesday, 26 June 2019

Indian Vase (by Debs)

Hello everyone, Deborah is here with her last post of the month, a stunning decorative item that will hopefully inspire you to get creative yourselves . Here's how she created her project:

Hello everyone Debs here with the last project for my spot on the blog this time round and I have another home decor piece for you. I love creating items to have around the home and the stamps I've used Indian Elephant and Indian Textiles are just perfect for this kind of project.

I used this vase substrate but you can use a host of other substrates such as photo frames, drinks and place mats, etc. Try not to use anything too circular as it can be difficult to stamp (or it is for me).

So to begin I covered the whole thing in a light coat of crackle glaze, roughly dried it and then sprayed it with a white acrylic paint. It must be an acrylic paint to make the crackles. I gave it three coats drying each one in between. Be careful not to touch until completely dry.

Next I applied a gold embossing powder to the bottom segment all the way round. First using Versamark I covered the area I wanted the powder to stick and heated it with a heat gun, once it's melted sprinkle it with more powder to form a thicker coat. I repeated this around the top of the vase as well.

Once completely dry plan out your design; I wanted mine to have a central design with elements moving away from the centre, but it's just as effective to stamp randomly. I used a dark brown Stazon ink as I wanted a vintage feel. Once the ink was completely dry I cut some string and wound it around the vase to give more interest. You could just as easily add gem stones or pearls, whatever matches your individual style.


Well that's it for me, I'd like to thank David and Lesley for having me and the fabulous Judith for organising me and the posts.
Goodbye for now,
Hugs
Debs xxx


Tuesday, 25 June 2019

Spot Card - (by Magda)

Hello,
Lesley Wharton  has released recently this big stamp, that is very versatile and could be used in different ways.

Step by Step

1. Blend lightly red Distress Inkpad on and in your card
2. Stamp randomly in several generations with Archival Jet Black the sentiment of the plate
    "The Toadstool Garden "
3. Punch holes in different sizes on the front of the card
4. Stamp with Archival Jet Black the big stamp "The Toadstool Garden " on the inside of the card
5. Color with Faber Castel Art Grip Aquarelle Pencils some details of the image, especially the
    sections the stamp that you can see through the holes
6. Put some gold Stickless to highlight


Flower Card

This cute flower and the sentiment are in  "The Toadstool Garden " plate.  For this card I used blue, yellow and red Distress Inkpad for blending the background and stencil and the white cardstock pieces.  Archival  Jet Black  for stamping the sentiment on the card, Archival Red and Violet  for the flower on a white cardstock.   


Thank you for being here today. 
Magda


Monday, 24 June 2019

colourful world (by Veronica)

 More samples from the May tv shows to share with you today. A lovely variety of designs in this show, really something for everyone.

My first samples use the mushroom house, a  quirky stamp that will go well with fairy stamps and can also make a different new home card....
the first card was simply stamped in black versafine ink and painted using Koh-i-nor watercolour paints. these are very vibrant colours, so Iwent a bit crazy and created a rather psychedelic house, adding the spots with white pen afterwards.


A more normal version, again stamped using black versafine ink. The mushrooms were masked using masking tissue, and a cirsle for the moon as well. The sky was created using chipped sapphire distress oxide ink and a blending brush plus some yellow for the moon. again painted with the watercolours, but more 'normal' mushrooms this time!


This uses the artichoke stamp, stamped in black and clear embossed  -this time I used masking fluid to cover the image before sprinkling with brusho powders in blue and red and spritzing with water. Once everything was totally dry, i rubbed off the masking fluid. Toning blue and red mats for a change onto a white card blank.


I used the border stamp from the same plate here to create a frame onto a square of wite card using a dark green dye ink pad, and rubbing the ink pad along the edges to create a dark edge.  I used the same ink pad to stamp the apples onto a smaller piece of white card before colouring with watercolour pencils.


My final card was a little different, and I used a stamping platform to create this.  The leaf spray was stamped 4 times using a light green dye ink pad, and then a waterbrush to spread the colout into the leaves.  I used the same ink pad to stamp the rose hips into the gaps left by the leaf stamp. I cololured the leaves with watercolour pencils and then painted the hips orange to make them stand out - the stems came together in the centre to create a squiffy square (purely accidental) so I painted this as well to create a focal point.


Saturday, 22 June 2019

Mushrooms and Apples by Penny

Hello peeps, I hope you are all well and enjoying some sunshine after all the rain we've been having.  I have a couple more samples from last month to share with you today, featuring some of the gorgeous CB stamps.  


Shrooms Galore!

For this first project I have used stamps from the Mushroom HouseThe Toadstool Garden, Mellow Fruitfulness and Tagtastic sets; Koh-I-Noor paints, pearlescent paints, black Versafine, silver and clear EP.


I began by stamping a tag onto black card and embossing with silver EP.  I cut it out, then stamped and embossed one of the 'holes' at the top.  I stamped the Mushroom House in black ink and embossed it with clear powder, then painted the image.  On a spare piece of card I stamped and embossed a sentiment with silver EP.  I used a silver pen around the edges before attaching to the tag.   To complete the tag I added the cherry branch, which I had stamped, embossed, painted  and cut out of black card, and some red raffia.


On a piece of white card I stamped the Toadstool Garden image in black ink and painted the toadstools and leaves with watercolour paints.  I added silver pen around the edges then attached it to a black base card.  I then attached the tag to the card beside the focal panel.  


Colourful Orchard.


For this project I used stamps from the Mellow Fruitfulness and Artistic Affirmations sets; grey Versafine ink, red Versafine ink, clear EP and alcohol markers.


I started with a piece of smooth white colouring card and stamped the apple branch image with grey ink.  I masked it with Masking Tissue and stamped the image twice more.  I removed the mask and coloured all the images with alcohol pens, adding light and shading to make the apples appear 3D, and did the same with the leaves.  I added some highlights with a white pen, and a shadow line around the images.  On a spare piece of card I stamped and embossed the apple branch three times and coloured them as before.  I then cut the images out.


I stamped a sentiment in a bottom corner of the focal panel using red Versafine ink and embossed it with clear EP.  I added gold pen around the edges of the panel then matted it onto red card before attaching it to a white base card.  I attached two of the cut out branches to the top corners of the card with 3D foam, and the other to the bottom of the card.


Thank you for popping in today and taking time out to read this post, I hope you've enjoyed it.  I loved creating both cards and I hope these samples give you a little inspiration.

I'll be back next month with more crafty fun, so until then take care,


                               xx  Penny  xx


Friday, 21 June 2019

A Mixture of Mushrooms (by Judith)

Hello everyone, I have a few projects to share with you today showcasing the fabulous mushroom stamps that we brought to you on last month's TV shows on Hochanda.

For my first projects, I stamped some Mushrooms from the Autumn Poppy stamp set onto large sticker sheets before cutting them out. This is an alternative to stamping and masking images, and allows you to add your images to patterned backgrounds very quickly. I found a lovely speckled background in my stash box which was a great colour for some mushrooms, which I had created using the wrinkle free distress method.

I stamped the sentiment onto spare card, splitting it in two, and colouring the edges with coordinating Distress Ink.

The next two cards show how backgrounds which are not altogether successful can be used when adding something over the top. The first, a remake of an old project that I made a long time ago, I actually spilled my cup of tea on the background! However, I liked the colours, so carried on anyway.

The next is the TV demo itself, and although I do not like this background so much, perhaps with a bit of pencil shading around the mushrooms, it will grow on me.

I used The Toadstool Garden next, embossed in white on a piece of kraft card, then added some paper piecing for a change. I simply rummaged through my stash box again for scraps of backgrounds left over from other projects, and stamped parts of the image using white embossing powder as before. I cut out the flowers and mushrooms before adding them to the main image.

So there you have it, a few more ideas for you using these fabulous images. I hope that you will try some of them out yourselves. Thanks for stopping by,

Judith xx

Thursday, 20 June 2019

Autumnal part 2 byZoe

Good morning Lovelies and welcome back to my final post this month featuring these stunning stamps.


So my first card I stamped onto a Brusho’s background I had in my stash and just spotlight coloured in using Sparkle brush pens.


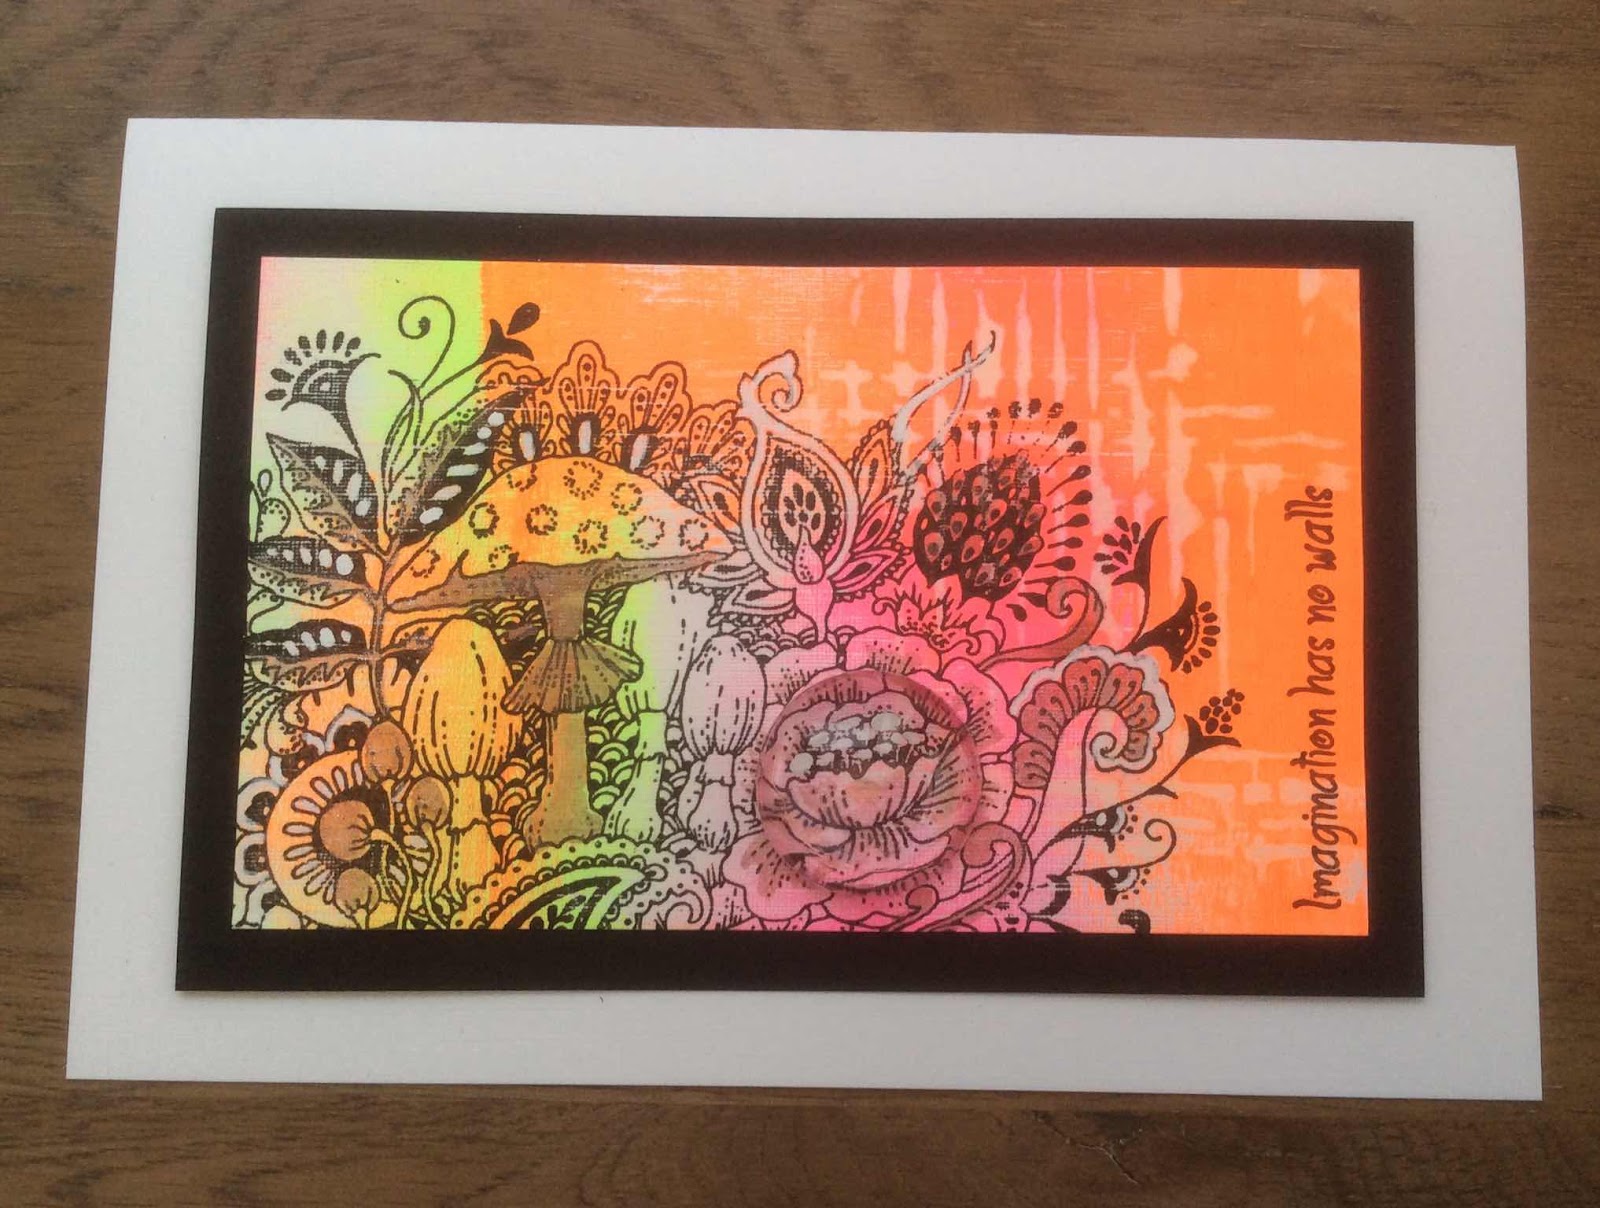
I used Neon acrylic paints and a brayer on Linen texture cardstock and using a damp cloth and a stencil rubbed out the paint to create an interesting background, I simply stamped and highlighted with white pen.

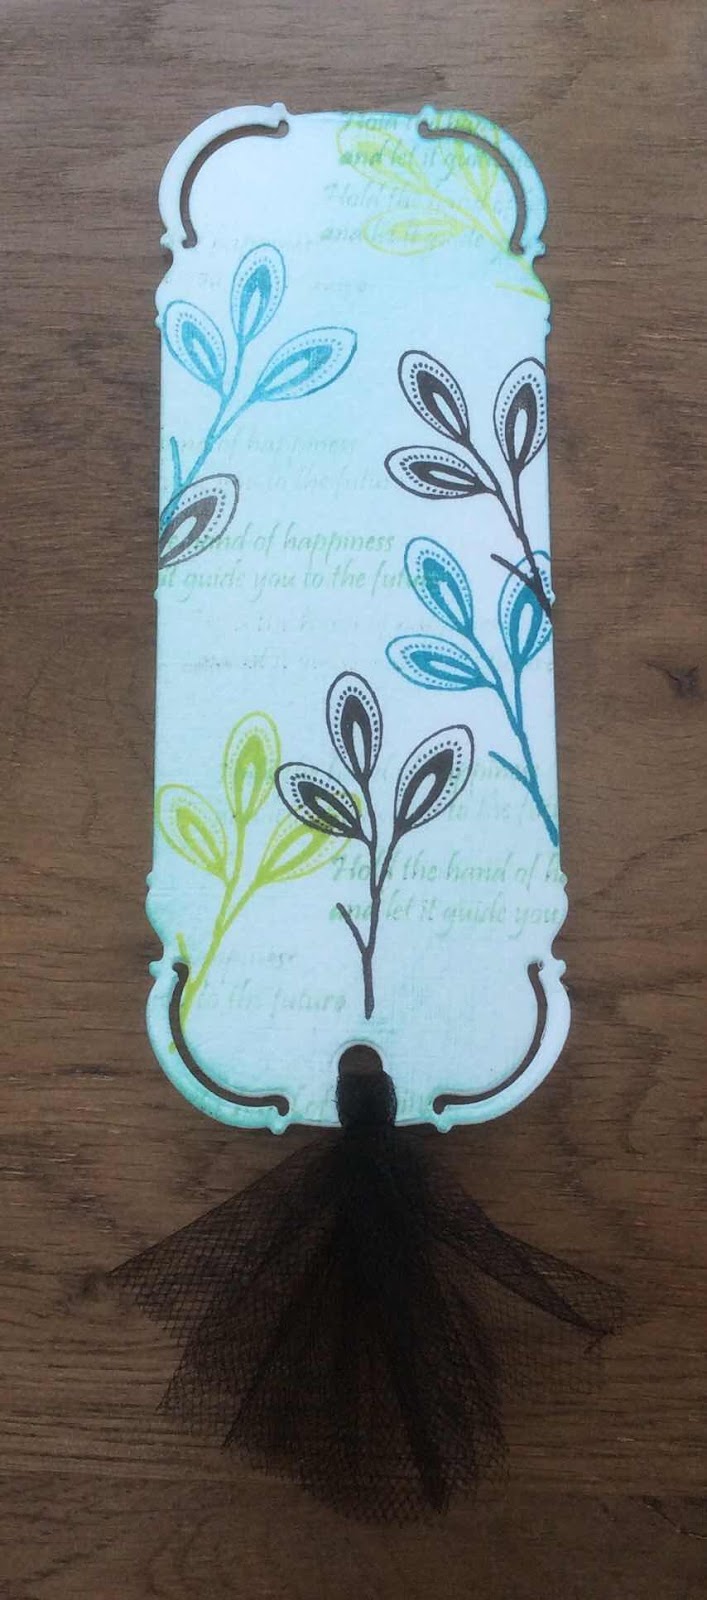
A bookmark die which was simply repeat stamped using different colours and simple inking around the edges.


Little bit of second generation stamping on the background using a sentiment from the set to create some texture in the background of my Bookmark.


Thank you so much for visiting, hope you liked my creations.
Have a wonderful day xx Zoe xx

Wednesday, 19 June 2019

Flower Basket (by Debs)

Hello everyone, Deborah is here with her second post this month. She has created another delightful mixed media project to inspire you. 

She writes:

Hi everyone, Debs here with my second project which is called Flower Basket.


My basket I made from a die and mount board which gave me a very sturdy basket, but you could do the same technique with any form of container, such as a box or casket, any item you can put something in, or for a different look you could do something similar with a frame.

I used the crackle glaze and acrylic paint which you can buy from the website on my basket to get a vintage look. Before I assembled it I stamped leaves from Big Bold Background-Leafy Background and then used pens to add colour. Once dried I set aside for later and moved onto my flowers.

Onto a heavy smooth watercolour card I stamped a variety of flowers from Floral Perfumery, Rose Perfumery and butterflies from Butterfly Perfumery in black ink. I heat dried them to make the ink permanent and then painted with watercolour paints. Once completely dry I then added some shading with pencils to add more dimension. I then fussy cut the flowers. Some I attached to the side of the basket which I filled with tissue paper to add volume.

Others I attached to strips of heavy card to the back which enabled me to position them to the tissue paper. The butterflies I attached to long thin sticks and positioned them amongst the flowers which helped to camouflage the sticks.


I liked mine as they were but to add even more interest, you could add glitter.

Well that's the basket, join me next week for more home decor ideas, take care and hugs, Debs xx


Monday, 17 June 2019

A Fenland walk by Brenda


Good morning to you all, Brenda here with some more samples using the Autumnal stamps showcased on Hochanda last month.

My top creation is my take on an Autumnal wander in the Fenland fields where I live, the trees are losing their leaves and there is an abundance of fungi to be found underfoot. 

I stamped a piece of card with the trees from Autumn Edges and added some background using Koh-I-Noor paints, a mask for the sun and some hand drawn birds. Next I stamped the Toadstools from the same stamp set, stamping a few more at both ends to extending the line, then I cut around the tops of the central ones and used a die to create a frame (when doing this tuck the bottom of the die behind those you have cut out so that section is not cut by the die). I coloured in with pencils and used foam tape to raise the frame over the trees.


The Artichoke from Autumn Edges was stamped with Versafine Clair and I then used Distress Inks and a stencil to create some background interest, matted and layered onto a die cut hexagonal shaped card.


I have used the trees from Autumn Edges to create a concertina card through the seasons, using various colours of Distress Inks for the background, a mask for the sun and various colours of Versafine Clair for the trees.


I stamped The Toadstool Garden using Versafine black onto an Oxide background, bleached out the colour from some elements of the image and them painted in some of the flowers with coordinating colour.


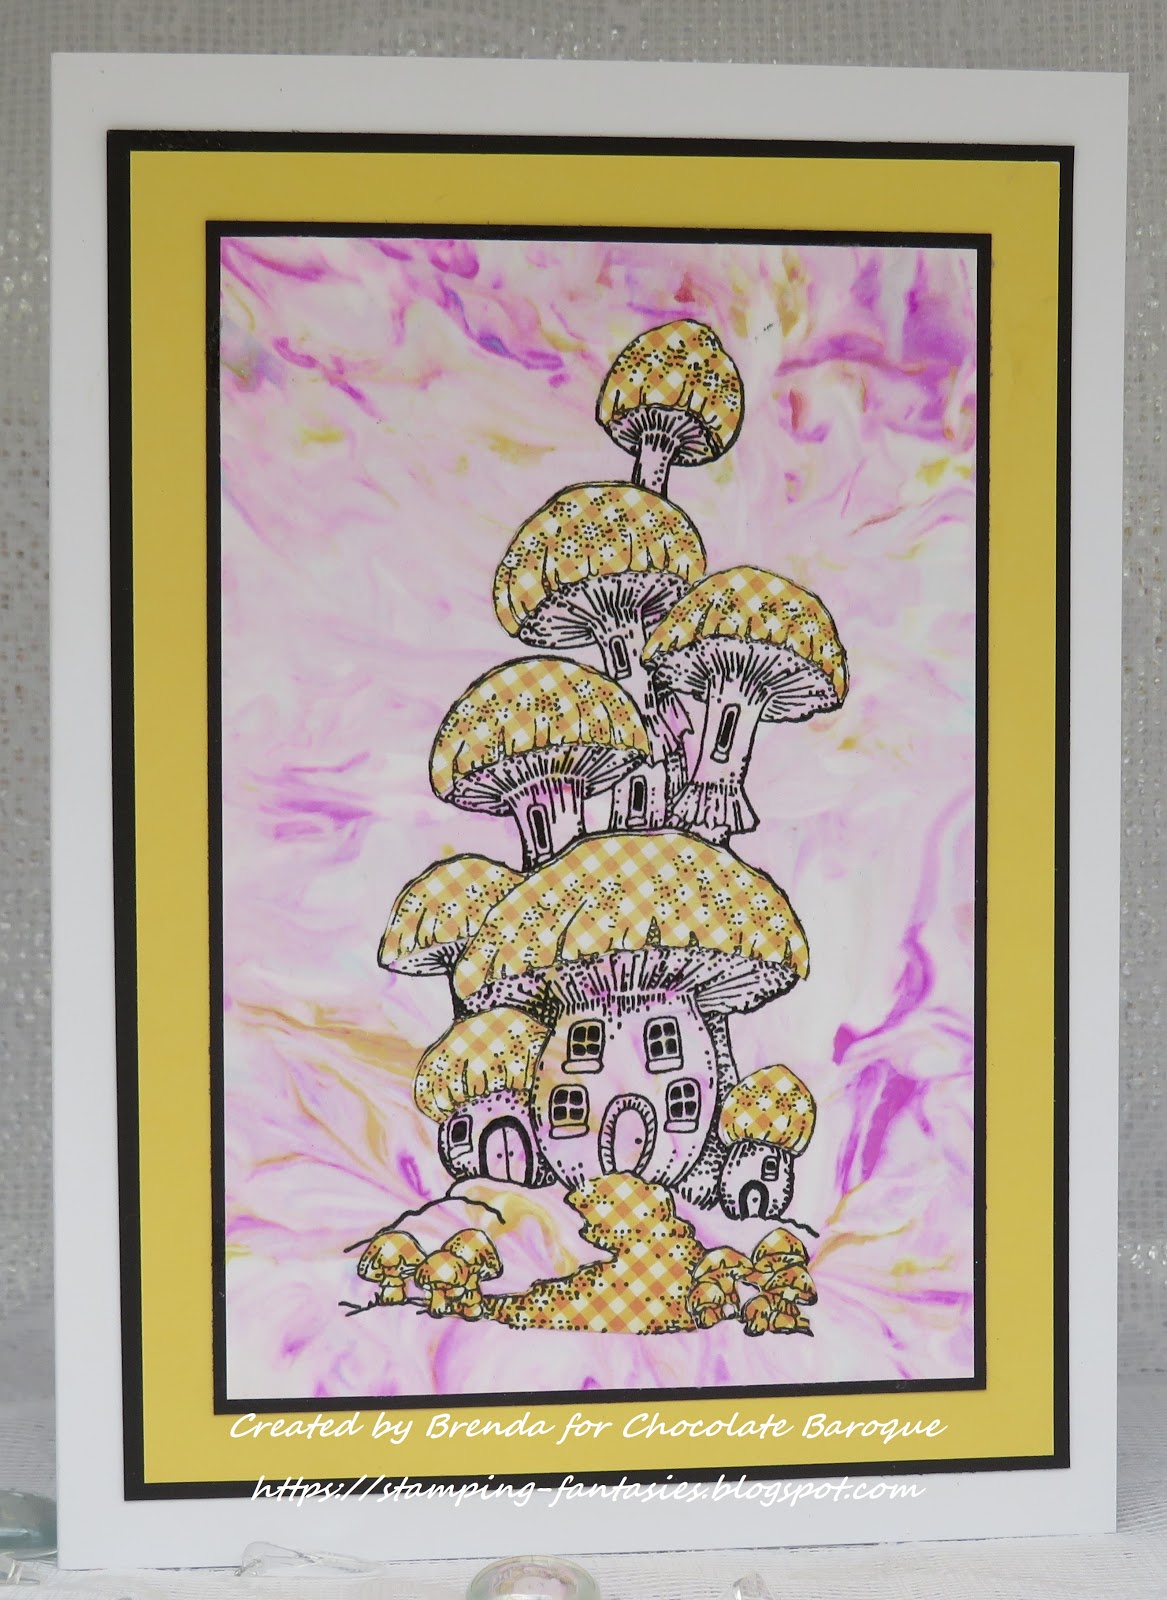
Mushroom House has been stamped onto a shaving foam background using Versafine Clair, then stamped again onto some yellow DP, but our and paper pieced.


And I couldn't finish this post without including at least one Poppy which is the one from Autumn Poppy stamped with Versafne black onto an Oxide background , bleached out and then coloured in with paint and stencilling added around the image.

Many thanks as always for your visits and encouragement.

Sunday, 16 June 2019

The toadstool ( By Marga)

Today I want to show you a card with the lovely stamp set The Toadstool Garden.


The background I made with Distress Ink and the stamp I stamped with Versafine Onyx Black. Then I used a white pencil to put on some highlights.

Hugs Marga