Pin It button on image hover

Thursday, 10 February 2022

Get well soon Lovely Lesley by Zoe

Good morning Lovelies and welcome to my first post this month.

As you all know our Lovely Lesley has been pretty poorly. I just want to take this opportunity wish her a speedy recovery and let her know that I’m thinking of her and David.

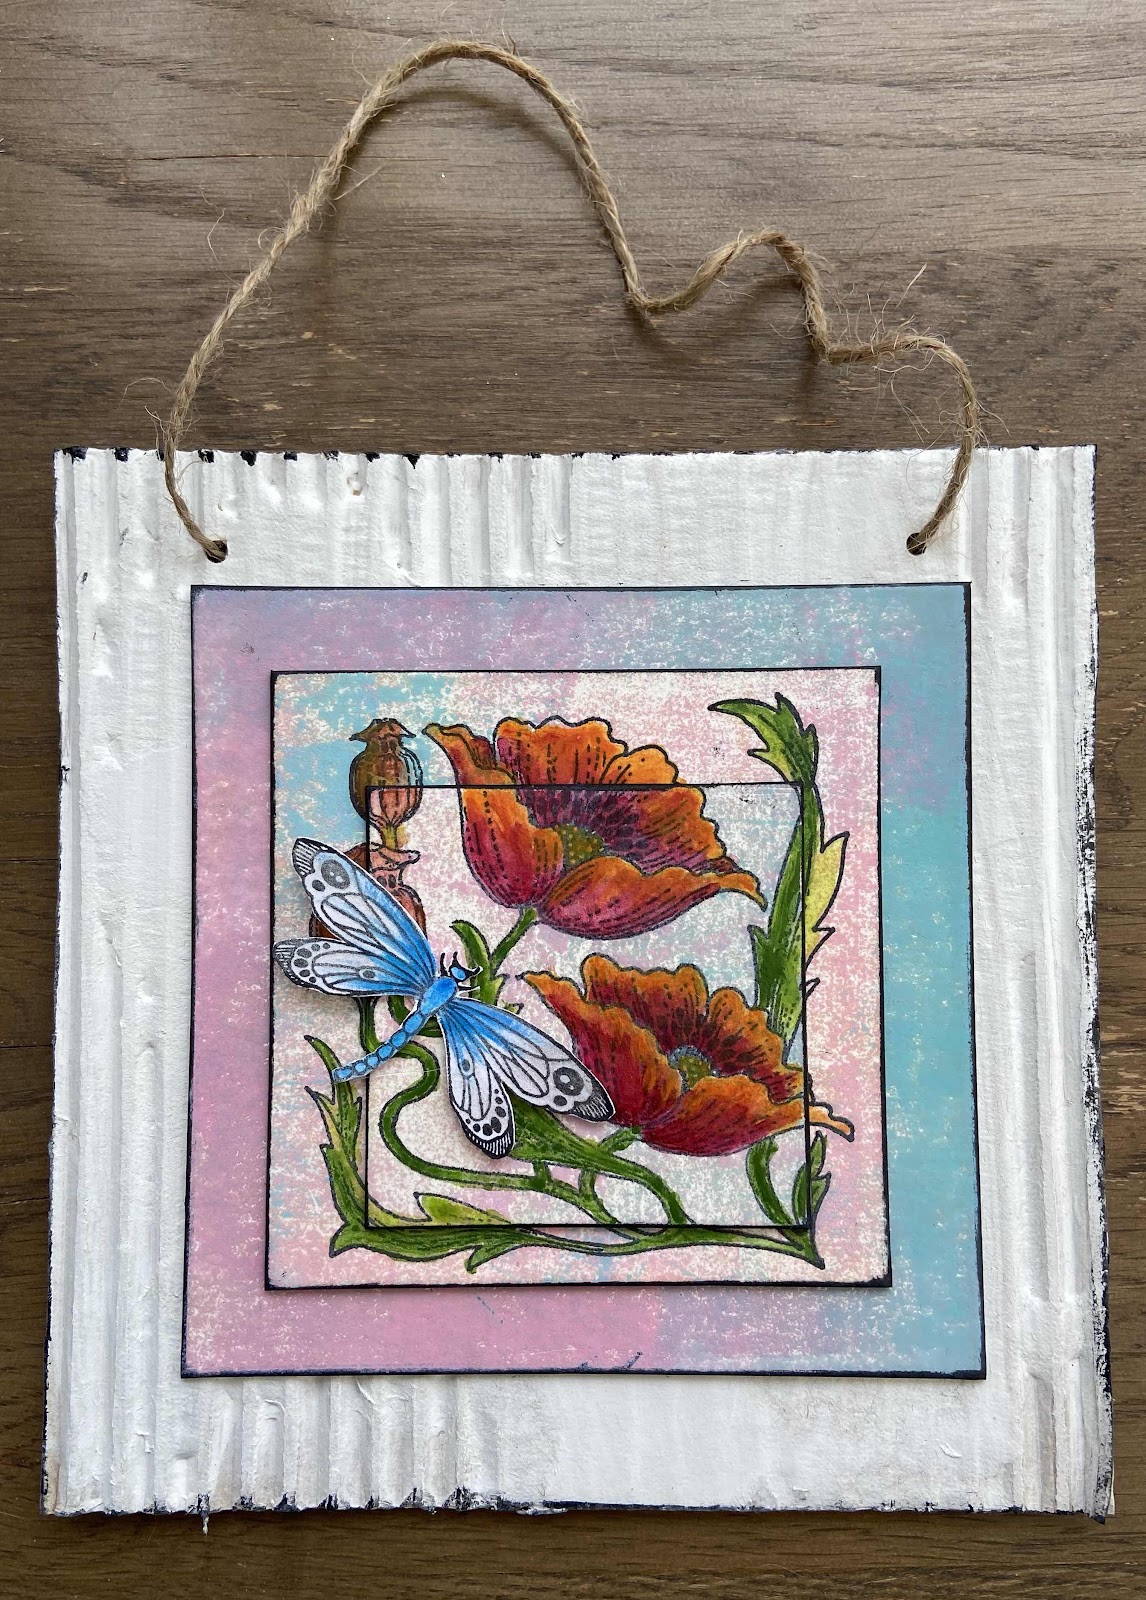
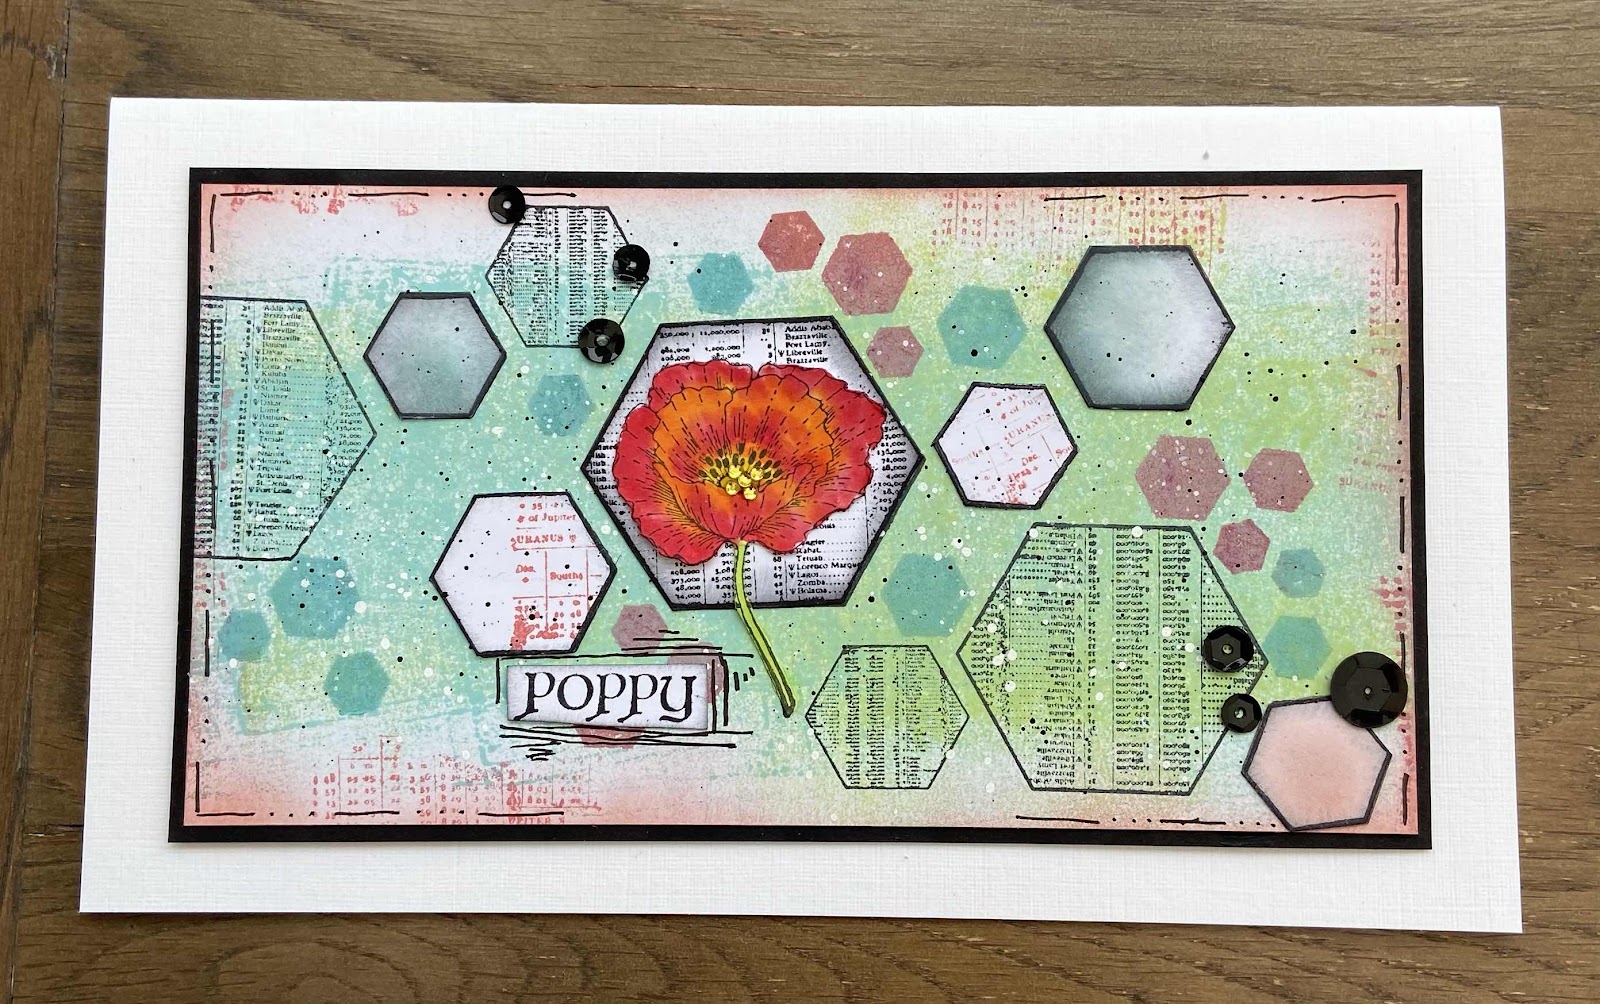
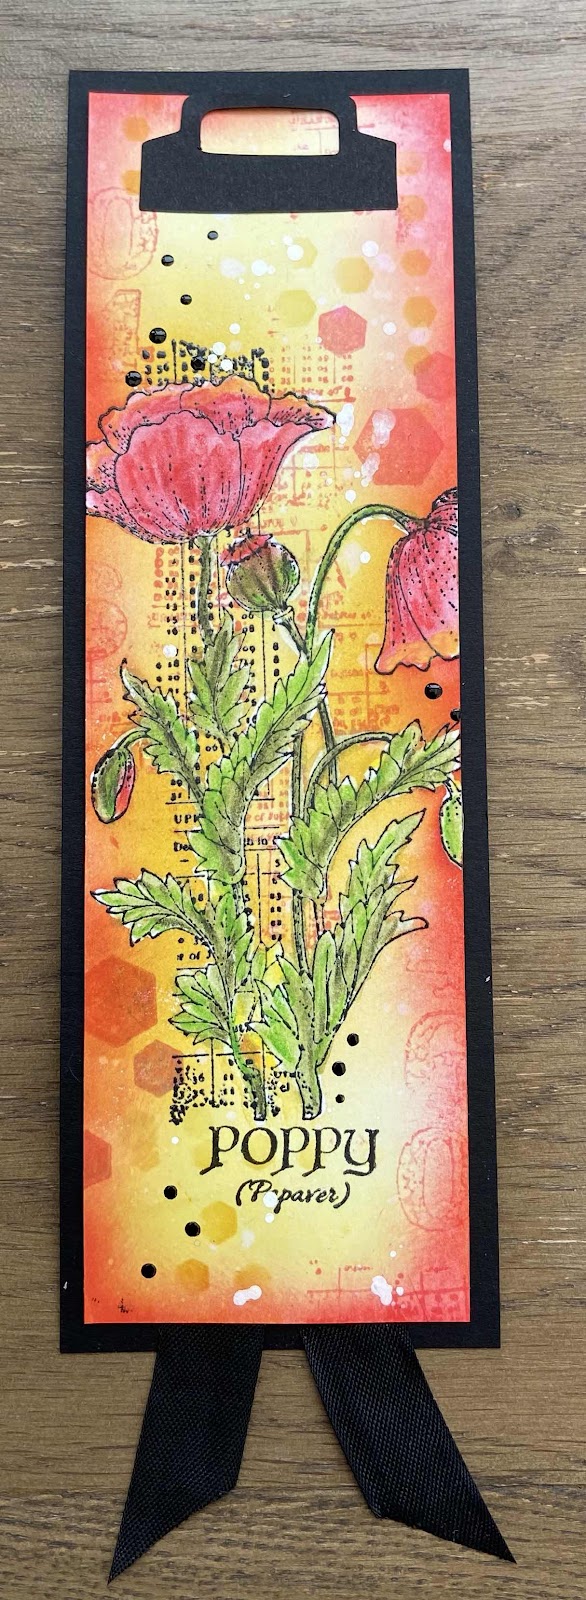
I haven’t had time this month to make new things for my blog post so I’m posting some of my older projects. You may remember them? And if you don’t  that’s great.

I love Poppies and I love letters, words and numbers in my backgrounds, I think they just add that “edgy” touch.


Thank you so much for spending your time visiting today.

Have a wonderful day xx Zoe xx 


Wednesday, 9 February 2022

Woodland Dreams (by Lorraine)

Hello everyone, today sees the first of three posts by our Guest Design Team member Lorraine. She has created a card using the spotlight technique for your inspiration.

Lorraine writes:

 I decided to pull out one of my original Chocolate Baroque purchases from the Woodland Dreams set. There is so much detail in this one stamp that it ws possible to actually spotlight two areas, although it could carry one quite happily. Unfortunately, I can't recall the dimensions of the card, and it's been gifted now, so I can't check, but the design really dictates the base layer- the size of the mounts is at your discretion!

Smooth black and white card are essential to get the best results, as this technique called for lots of embossing. Liberal use of an anti-static bag also helps. Starting off with the black card, stamp the image using Versamark. I used a stamping platform to help get a good impression - it also provides you with the opportunity to reapply the ink if you miss a bit. Fortunately, the embossing ink shows up well on the black card. Once you're happy with your image, add your white embossing powder and heat set. I like the fine detail powders as they give a crisp result. Repeat the proces using black powder on white card.

When you have decided on the area you want to spotlight - in this case I chose the birds - cut the two corresponding circles from your white card. I actully used my Scan n Cut for this as I didn't have any circle dies of the right size. The circle on the left overlapped the card, so I layered up the the black and white mounts before actually affixing the spotlight circles. There are so many 'contact points' within the design that it does take a little patience to get it properly lined up, but I think the finished effect is worth it. I hope you agree!


Tuesday, 8 February 2022

A French Heart For February by Doreen

A French Heart For February


Hello everyone and welcome to February, not sure I like what is happening with the weather at the moment but it's not something we can control so I won't dwell on it.

Today I would like to share a simple card with you using the beautiful French Heart which lends itself to some really easy decoupage.


 Firstly I stamped the full image using the Versafine Clair Fantasia, and then just a couple of extra images of the floral part of the stamp for colouring and fussy cutting to use for the decoupaging elements in this card.

For colouring I have used Chromaflow Pencils by Derwent bought for me by my Grandchildren for Christmas and I have to say I am really impressed with them. They are very easy to blend just using a paper stump.

Once coloured I used the Old Paper Distress Oxide just to take away the starkness of the white background. 

To mould and shape the leaves and the front floral image use a large ball tool and soft shaping mat, or any fairly firm foam to allow you to give your leaves and floral pieces their rounded shape. Apply to the card using a 3d glue medium of choice or foam pads if you prefer. 

As a finishing touch I added some clear glass gems.

Thank you for looking in today 

Love Doreen


Monday, 7 February 2022

Happy Place (by Magda) - French Heart, On the Tiles, Words of Love

 Good Morning,

Valentine Day is coming and here below I have for you a quick Step by Step, as idea for your make.

1. Stamp "French Heart" directly on your page with Carnation Red Archival Ink  

2. Stamp it again on a White Cardstock, cut it exactly as a mask and put it on you red heart

3. Stamp all around "On the Tiles" background stamp with Archival Jet Black

4. Cut the leaves and stems of your mask (point2) as a decoupage and color them with a green watercolor and glue them on the first stamp 

5. Stamp the sentiment of "Word of Love", cut it in pieces and color the edges with the same green colour you used at point 4

6. Glue the sentiments as shown 

7. Highlight the red flower with some crystal glitter.


Sunday, 6 February 2022

Unusual Tent Cards by Natalie Ballard

There is nothing more annoying than making a lovely top folding card... and then it slides off the shelf and lands on the floor. No matter how thick the card and how perfect the fold, they all seem to do it eventually. This is a solution to the problem with a difference: half stepper card, half tent card.


To make this card, you will need two long thin strips of card. Cut a piece of A4 card in half lengthways or use two top folding A6 portrait card blanks.

Scoring

With the first piece, score the card in half; fold and crease, burnishing the fold on the back of the card. This forms the right hand section of the card base. The left hand section starts with the same halfway score; but now we flip over the card to score either side of the centre scoreline by ½". We then fold each scoreline mountain in; creating an accordion style "w" fold. Burnish each fold on the reverse taking care to not emboss the other folds into either front or back panels.

Cutting

With the second piece of card (with the W fold), we are going to trim the front section to give a stepped appearance. From the back fold, draw a 45 degree angle downwards to the front fold. Then, draw a straight line from the front fold across the front panel. Trim using scissors or even a decorative edge blade if you wish.

Stamping

Don't assemble your card blank yet as we have a few more steps before we get that far. Firstly, stamp and colour your main panel: in the sample above, I used the Sacred Rubber Stamp Set and the square stamp to create a pinned front panel. As we haven't yet assembled our card base, now is the time to add any brad/eyelet attached elements to the right hand panel. The extra star point to one corner of the design makes it ideal for this kind of mounting to be featured. The colouring on this panel was done using blending tape and Distress inks; it relies on using a good quality black inked that won't react to having the Distress inks blended over the top. Always check this on a piece of scrap in the same material prior to working on your final panel.

Stamp your sentiment using the Oxide versions of the colours you used in your ink blending. Oxides typically stamp much better than their Distress cousins. Adhere this panel to the left hand panel and add any Washi tape, border stickers or ribbons to the front panel.

Stamp, colour and fussy cut a dragonfly and moth from the same stamp set. Adhere these to small acetate strips to allow them to "fly" above the card. Set these to one side for the moment.

Assembly

Adhere the open ends of the left hand panel using double-sided adhesive tape placed to the outside of the panels. Carefully, align and adhere the left panel to the inside back of the right. Use the grid on your cutting mat to help you. Close the left hand panel and hold the W fold shut. Adhere the front edge of the left panel into the rear of the front panel of the right. You can use a little wet glue if you wish; this will give you a little wiggle room.

Finally, add in the floating insects using double-sided adhesive. Trim the acetate pieces to your chosen height, and so your adhesive remains hidden.

As the card doesn't open fully, create a sentiment panel for the reverse of the card.

Here's another card featuring the same base design...


Saturday, 5 February 2022

A Thistle Butterfly (By Tracy Thompson)


This is my first post for February, and I have picked one of my Favourite stamp sets Thistle Butterfly.  So I went for a layered up look on this one, I started by stamping the image onto a light smooching of Distress Oxides.  I coloured the image with Distress Inks and decoupaged the Butterflies, and around the edge I used some gilding wax.
I did three more layers Gilding each one around the edge after smoochimg with Oxide inks.  The final layer I stamped with Distress Ink in my all time favourite colour, Seedless Preserves using the Large Crackle Background.

I will be back later in the month with another creation made for you to see.
Happy crafting
Tracy x

Friday, 4 February 2022

heartfelt (by Veronica)


For my first post this month I chose the  Harlequin Rose and Words of Love stamp sets - I thought they would be appropriate as Valentine's day is approaching......
The first one  is 7" square, the background is distress oxide inks  squeezed lemonade, peeled paint and salvaged patina sponged randomly and part images from the Rose Stem Script set and  words from Tall Trees set also used to overstamp.The sentiment is from Words of Love, stamped in black versafine and candy apple distress oxide inks. The main images were stamped onto spare card with verxafine ink, coloured with watercolour pencils and fussy cut out. If you snip  the leaves carefully you can weave two images together. I glued just the bottom halves onto the card, so the the centre pieces will stand up slightly


The second card is a very simplified version of the first, with red and black lines drawn with marker pens round the image and no sentiment - this is a 6"square card


Another  6" square version, again coloured with pencils this time trying to get a rainbow effect - in hindsight I think it would have been better to start the rainbow at one side of the image and not do individual leaves....

this was a single image, fussy cut round the edges of the design only and glued onto a distress oxide background. Background was stamped with the rose from Rose Stem Script coloured with marker pens and randomly stamped over the card, thne spritzed with water to blend the images. Distress oxide inks were then sponged over the dried card , sentiment added in black versafine and the wobbly lines drawn with a fineliner.


Thursday, 3 February 2022

Dress Forms (by Sandra)


Hello everyone.
Today I thought I would do a little walkthrough of a card I have made.

First I stamped the three dress forms from the Haberdashery stamp set in brown archival ink onto some stamping card.


I then put a line of washi tape across the bottom quarter of my card as I wanted this area to stay white.  I used the markings on my glass mat to get it straight.
I used three colours of Distress Inks to colour the top part.

I stamped the bodice part of the dress forms onto some pattern papers and cut these out. (Sorry about the reflections - the joys of Velux windows!)


I die cut a lacy border and aged with Distress Inks and removed the washi tape.     


I glued all my pieces onto the card base.


I added smaller stamps to the background, a sentiment and a piece of ribbon. Also, I decided it needed a bit of pink Distress Ink.


Here it is finished and mat and layered onto a 8x8" card.
Thanks for looking
Sandra x
http://isthatthetime.blogspot.com/
 

Wednesday, 2 February 2022

Blog Comment Winner for December


Hello and welcome to the Chocolate Baroque Design Team Blog.


We truly appreciate the time you take to let us know your thoughts about our designs, so each and every comment is very important to us.


Each comment in December was assigned a number and we used Random Org to draw a winner.


Congratulations to SANDMA you have won this month's £15.00 voucher to spend on Chocolate Baroque stamps.

To claim your prize, please email here to confirm your email address and Lesley will send your gift certificate.


Lesley will be giving a £15 gift voucher to another lucky winner drawn from the January  comments.


The more comments you leave, the better your chances of being the winner.


Thank you so much for all the kind comments you leave.


Good luck from all on the Design Team


Here is another chance to see the beautiful creation by Magda.


Tuesday, 1 February 2022

Fresh Parsley (by Judith)

Hello everyone, I hope that you are all keeping well. This month, the Design Team are going to be posting projects on a theme of 'Anything Goes' as we did not have a TV show last month. It is not often we have a chance to run wild through our collection of Chocolate Baroque stamps, and having been on the Team for a very long time, I have a great number to choose from! I did not want to select my obvious favourites, which are mainly Autumnal stamps anyway, not really suitable for this time of year, so I had a really good look at what else I liked in the collection. I am also trying not to use my go to favourite colours either. I hope you like what I have selected.

My first card this month uses the beautiful Parsley Clock stamp set. I stamped the main image onto some green card, and added a smaller parsley sprig along the bottom, plus a single butterfly, and the lovely sentiment that Lesley added to the stamp set. The words are perfect for a Get Well card, or maybe for someone that needs cheering up. Equally, the card would make a fabulous Birthday card.

I added the splatter stamp using second generation stamping, so that it was not too overpowering. I then coloured the images with pencils, keeping everything to a limited colour palette of yellow, orange, pink and green.

I created a larger background using Brushos, using the same four colours, and once this was dry, I added the splatter stamp in second generation stamping, as before. I matted both layers onto black card.

This is a lovely fresh colour palette for Spring, but you could vary the colours and create a completely different effect. Remember, you do not have to colour the flowers in realistic colours, I have added pink to the Parsley here, because it suited my colour scheme.

 I will be back later in the month with more projects to share with you. Thanks for stopping by,


Judith xx


Monday, 31 January 2022

Mini Works of Art Part 3 (by Zoe)

Good morning Lovelies and welcome to my final post of the month featuring these gorgeous little Mini Stamps. 

I made this cute little Journal page and used it as a topper for a little card.

I used a combination of the mini mail-art and mini meadow stamps. I stamped some of the meadow stamps in just ink and some I added glittery embossing powder to, just to add some extra texture, tiny little butterfly die-cuts from my stash.

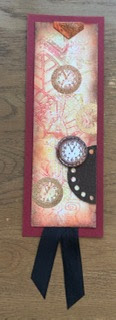
A bookmark which I used a gel press print from my scrap box for the background.


Thank you for visiting today. Have a wonderful day xx Zoe xx

Sunday, 30 January 2022

Small But Perfectly Formed by Doreen

 Small But Perfectly Formed 

I really can not believe that it is almost the end of January already, but for today I would like to share my third and final post of the month.

These samples use four sets of mini stamps that are just delightful, they are perfect for ATC projects, making frames, bookmarks, art for keyrings and the list goes on. 

This photo contains 3 Bookmarks simply made using just Versafine Clair Shady Lane and Distress Inkpad Vintage Photo.


This next card uses The Teeny Weeny Meadow  Versafine Clair Nocturne, Distress Oxide Abandoned Coral and Old Paper Inkpads.


Saturday, 29 January 2022

Using small stamps: Spotlights and panels by Natalie Ballard


The Teeny Weeny Meadow rubber stamp set is perfect for playing with panel and spotlight designs. In the sample above, I used an offcut of stamping card as an initial layout idea, and I loved this idea of a bold panel of colour offset to one edge.

Stamp or blend first?

The answer to this is how clear do you want your silhouette to be? If you want it crisp and true black, then stamp last; for a softer look, stamp first. In the sample above, I stamped and then blended over to soften the look. I also stamped secondary impressions to create a scene with trees fading into the distance.

Beginners will find it easier to blend with Distress Oxide inks or another hybrid ink, but you don't want a perfect ombre for this type of card. Allow some of your brushstrokes and movements to show and you will get the impression of clouds.


Another option is to skip the blending altogether, and just focus on the stamping. Here, I created a mirror image using a gel plate to reverse the stamp. Once you have stamped the reverse image, use the second impression to stamp the right way. This was the ink colour should match in intensity.

You could also do this as a background image and highlight just a section with colour. This is known as a spotlight and it is useful when you want to guide the eye to a feature point.

Friday, 28 January 2022

From Gold To Bold (By Tracy Thompson)


I'm back with some more of my creations that I made for the shows on The Craft Store in December, we had so many stamps to work with and they were all very inspirational.  My first card I created using Ophelia, I did the background first with rich bold colours in Distress Oxides, which I carried over into the collar and the flowers in Ophelia's hair, the flowers were decoupaged and a pearl added to the centre of each one.  The sentiment I got from the stamp set also on the shows The Folk Art Garden..


Now to create this next one I kept it simple to get an elegant effect.  I stamped my image Song thrush and coloured it with just a gold gel pen, which just left the matting and layering to do in gold and black card.  That's it, it really was an easy creation but I love the finished look.

Thank you for popping by

Happy crafting

Tracy x

Thursday, 27 January 2022

mini stamp ideas by Rachel

 Hello there! Rachel here for my final post as a regular DT member - its been a pleasure working on this team but I find myself moving in a different direction and heading off on a different road!

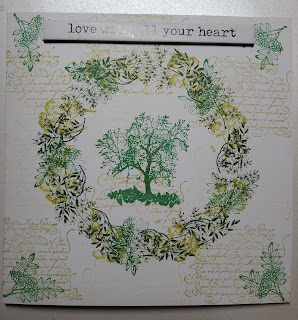
These small stamps can be used in so many ways - as the other DT member have already shown this month - here's a couple of ideas from me..... simple stamping to create a wreath....


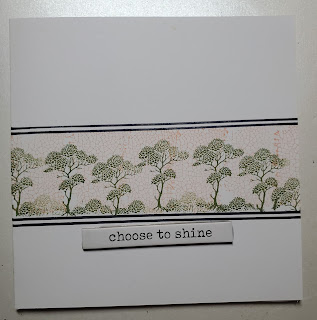
masking off the card to produce a stamped border ...


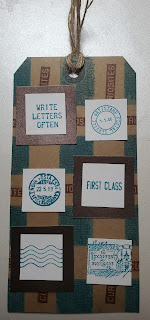
And using stamping and stencilling together to create a tag.


Have a great day!
Thanks for your time!
Rachel x


Wednesday, 26 January 2022

Song Thrush (by Andy)


Hi All

Thank you for stopping by.

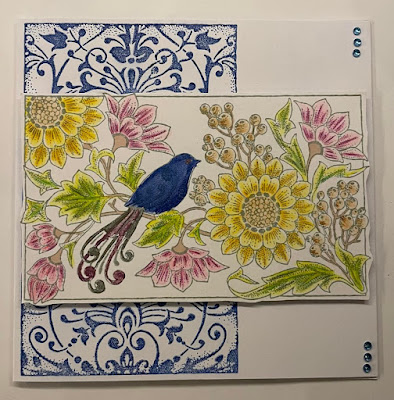
Another card for you this week featuring the Song Thrush and Damask Panel, which I think go quite nicely together. A card which can be used for a multiple of occasions. Enjoy.

You will need:

6" x 6" (15 x 15 cm) white card blank

White stamping card

Versafine Majestic Blue ink pad

Archival Watering Can ink pad

Water based markers

Gems

Pearlescent paint


Begin by taking the Damask Panel and inking up the Majestic Blue ink pad and stamp the image to the left of the card blank.

Stamp the Song Thrush with the Archival Watering Can on to the white stamping card.

Colour the image with your water based markers.

Paint some of the flowers with the pearlescent paint, but don't overdo it.

Once you are happy, cut out (be careful with the parts that go outside the shape).

Mount over the Damask Panel using foam pads if you so desire.

Add blue gems to top and bottom right corners of the card.

Job Done


Andy xx 

Tuesday, 25 January 2022

toadstools (by Veronica)

For my last post this month I am sharing two versions using the Toadstool Garden stamp set from the December shows.                               
The first version of the main image was stamped in black versafine and mostly coloured with grey pencils, apart from the actual toadstools which wwere coloured with marker pens. A very simple edging created by rubbing the card over the ink pad before mounting onto a card blank
The second version of the stamp, also stamped in black but this time coloured with marker pens before mounting first onto a balck mat and then onto a card blank
I used a variation of the first card to make the small card using the songthrush stamp , but here I coloured some of the bckground as well before colouring the bird in blue.. The image was fussy cut out round the edge before mounting onto a blue card blank


Monday, 24 January 2022

Give Me Five! (by Sandra)

Hello everyone, I am sharing the last of my cards made for the December show on The Craft Show.
This was a set of 5 stamps on an A4 sheet, but they are available individually on the Chocolate Baroque website as well.


This card uses the Damask Panel.
I stamped the panel onto red card and green card in VersaMark and gold embossing powder. I then cut each piece to make them square. I cut a square of gold card and glued on the green squares, before the glue dried I tucked in the red pieces in a pinwheel style. I added a gem to the centre and a couple of gold leaves.


My next card uses the Fountain Scene set. 
I stamped onto grey card with Archival ink and coloured in the scene with pencils. I cut two strips in design paper and mat and layered all pieces in black and adhered to a 7x5 card base.


My next card uses the Lady in Hat stamp.
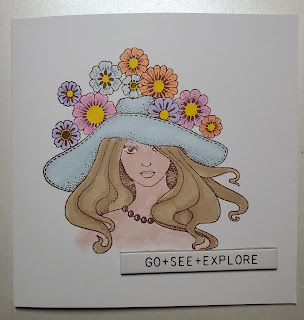
I stamped the image in Memento ink and coloured with alcohol markers. I die cut the image with a circle die and then layered it onto a toning decorative doily die. I finished by adding some corner pieces.


My next card uses the beautiful Ophelia stamp.
I stamped Ophelia in Memento and coloured with alcohol markers. I found a 6x6 backing paper to which I added one of the tags from a previous show. I also added some stamping from Mini Scripts to the tag.


My last card today is Song Thrush.
I stamped in Memento and coloured with alcohol markers. I added some gloss to the berries.
I picked out the pinks and greens for my layers and adhered to a 7x5 card base.


 Thanks for looking

Sandra x

Sunday, 23 January 2022

Natural Shades (by Judith)

Hello everyone, I hope that you are keeping well. I have a couple of projects to share with you today featuring stamps that were showcased on last month's TV shows on The Craft Store.


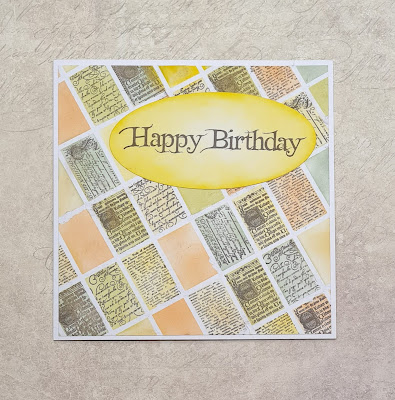
My first card features stamps from the Mini Scripts stamp set. I created a grid using very fine masking tape, and coloured each segment using Distress Ink. I stamped some of the script stamps randomly in the segments using black ink.I chose to leave a few segments plain, as I felt it would be too dark if I stamped in every segment. I carefully peeled the tape away to reveal the tiled effect. I added a large sentiment from Birthday Words stamped onto a die cut which I had also coloured with Distress Ink.

TIP: The masking tape was a little bit too tacky, and I would ensure that I had placed it on something first before using it, so that it had lost a little bit of its stickiness. You can see where a couple of pieces of the design have been pulled if you look carefully. However, I want you to learn from my experiences, which is why I am pointing this out 😉

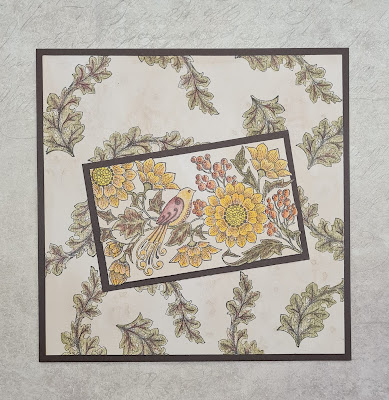
My second project is a remake of another project, using the Song Thrush stamp and a lovely leaf from Brocade Backgrounds. I coloured some Drawing Cartridge with some tea, and left it to dry. I stamped the main image, and then used a larger piece to stamp the leafy image randomly to create a background. I coloured all of the image with pencils, and blended them with a waterbrush.

I matted both pieces with dark brown card before adhering them to the base card. I hope that you have enjoyed seeing my projects this month. I will be back next month with more projects to share with you. Thanks for stopping by,

Judith xx
 

Saturday, 22 January 2022

Be Strong by Rachel

 Hello there,

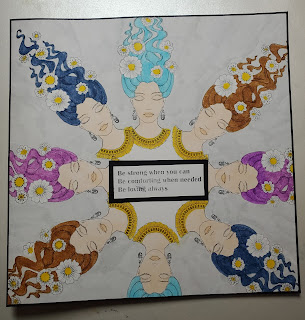
Rachel here today with my makes from the morning show later in December. I love all the stamps featured here - they are so very beautiful! In this first one I did a little repeat stamping then enjoyed colouring the Ophelias using water colour pens.


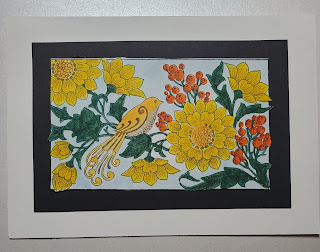
I used water colour pens again to colour this image and added it to a black background. I also added some repeat stamping to the card blank.


More water colour pens - you can just tell I was enjoying colouring these images in can't you?


And yes - you've guessed it - more water colour pen colouring - this time with more pastel shades.


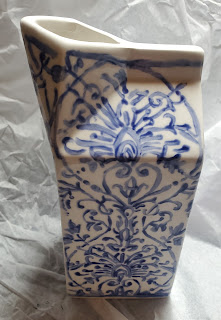
Finally I was a little more inventive and used this stamp to create a porcelain piece. I stamped in ink then overpainted in glaze before firing in the kiln at PottyRoos in Morecambe.

My penultimate post for Chocolate Baroque. I hope i have brought you a little inspiration!
Big hugs
Rachel x


Friday, 21 January 2022

Mini Works of Art Part 2 (by Zoe)

Good morning Lovelies and welcome to my second post this month.

Today I'm posting my samples from last month's The Craft Store TV show featuring these fabulous Mini Stamp sets.  

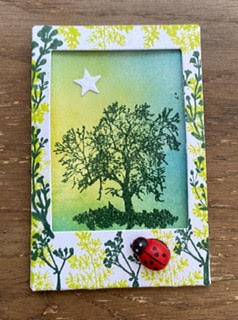
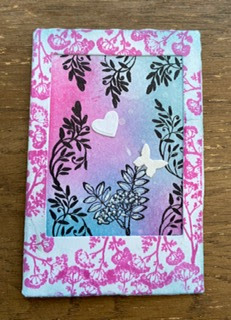
I made a couple of ATC framed envelopes from my stash using the Mini Meadow stamps.


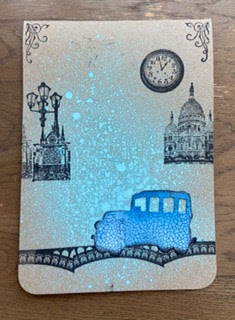
And a masculine style craft card using a spray ink and mostly the mini Curiosities, also a little die cut from my stash which I stamped from the mini crackle.

Thank you so much for spending your time visiting today, I hope you liked my creations. 

Have a wonderful day xx Zoe xx