Pin It button on image hover

Friday, 25 March 2022

Flowers, Birds and Butterflies by Sandra

 Hello everyone

I am sharing some more of my cards from the February shows on Create and Craft

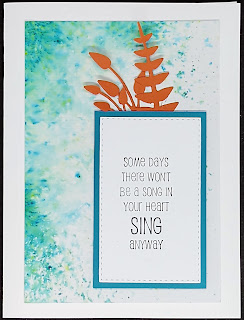
 My first cards use stamps from Words of Comfort and Cheer.  

I started with an A4 sheet of watercolour card and sprinkled Brushos down the centre length ways and width ways. I then spritzed with water and let the magic happen! I left it to dry naturally as I think the colour stays more vibrant. Once it was dry I cut the sheet down into 4 pieces and added one of the sentiments from the set to each piece. I added some orange die cuts as a contrast to the Turquoise Brusho. 


My next card uses the Butterfly Mind stamp set.....one of my favourites. For this card I used some of the element stamps. First I stamped the film strip, butterflies and splatters. I then stamped, coloured and fussy cut some of the butterflies and layered over the stamped ones. I finished by adding a sentiment from the set..


On my next card I stamped some splatters  and the large butterfly from Butterfly Mind. I added some fibres over the butterfly with tacky glue. I then stamped the butterfly again, fussy cut it out and layered over the stamped butterfly.  Adding a cut out butterfly over a stamped image means I don't have to worry about cutting out those fiddly antennae!  I finished by adding a sentiment and some gems and mat and layered onto a 6x6 card base.


I stamped the  Wish Flower in Memento Ink and coloured with alcohol markers. A beautiful stamp that can be coloured in many ways.

I have stamped Bird of Joy with archival ink onto Kraft card. I then used pencils to colour and added some gems. I layered onto some mirror card and then onto an 8x8 card base.


 I stamped Floral Delight onto some black card and embossed with gold powder. I have coloured the flowers with shimmer paints, beautiful to use - difficult to photograph! I then mat and layered onto some gold card and onto a 7x5 card base.


Thanks for looking

Sandra x

Wednesday, 23 March 2022

Monochrome and Red (by Caroline)

Hello everyone.

This is my last post for this month, so I thought I'd share a couple of cards with you. As you can see I used the same colours for both cards.

The first card I used one of the individual butterflies from the Butterfly Mind stamp set. I cut down a narrow piece of card with the images already stamped onto it and coloured them in monochrome colours, apart from one which is coloured in reds. It's a very clean and simple card.


The second card is again coloured with the same colours as the first card. On the card blank I used the Large Crackle Background stamp, as well as for the main image, but instead I coloured the crackles. I also used the Butterfly Mind stamp set for the film reel, sentiment and butterfly.

So that's my final blog. I hope you've enjoyed them. There are loads more inspiration on Chocolate Baroque's Facebook Page and Blog. Take care everyone.

Bye for now,

Caroline xx
 

Tuesday, 22 March 2022

Mosaic Circles (by Judith)

Hello everyone, I hope that you are keeping well. I have a project to share with you today showcasing stamps from last month's TV shows.

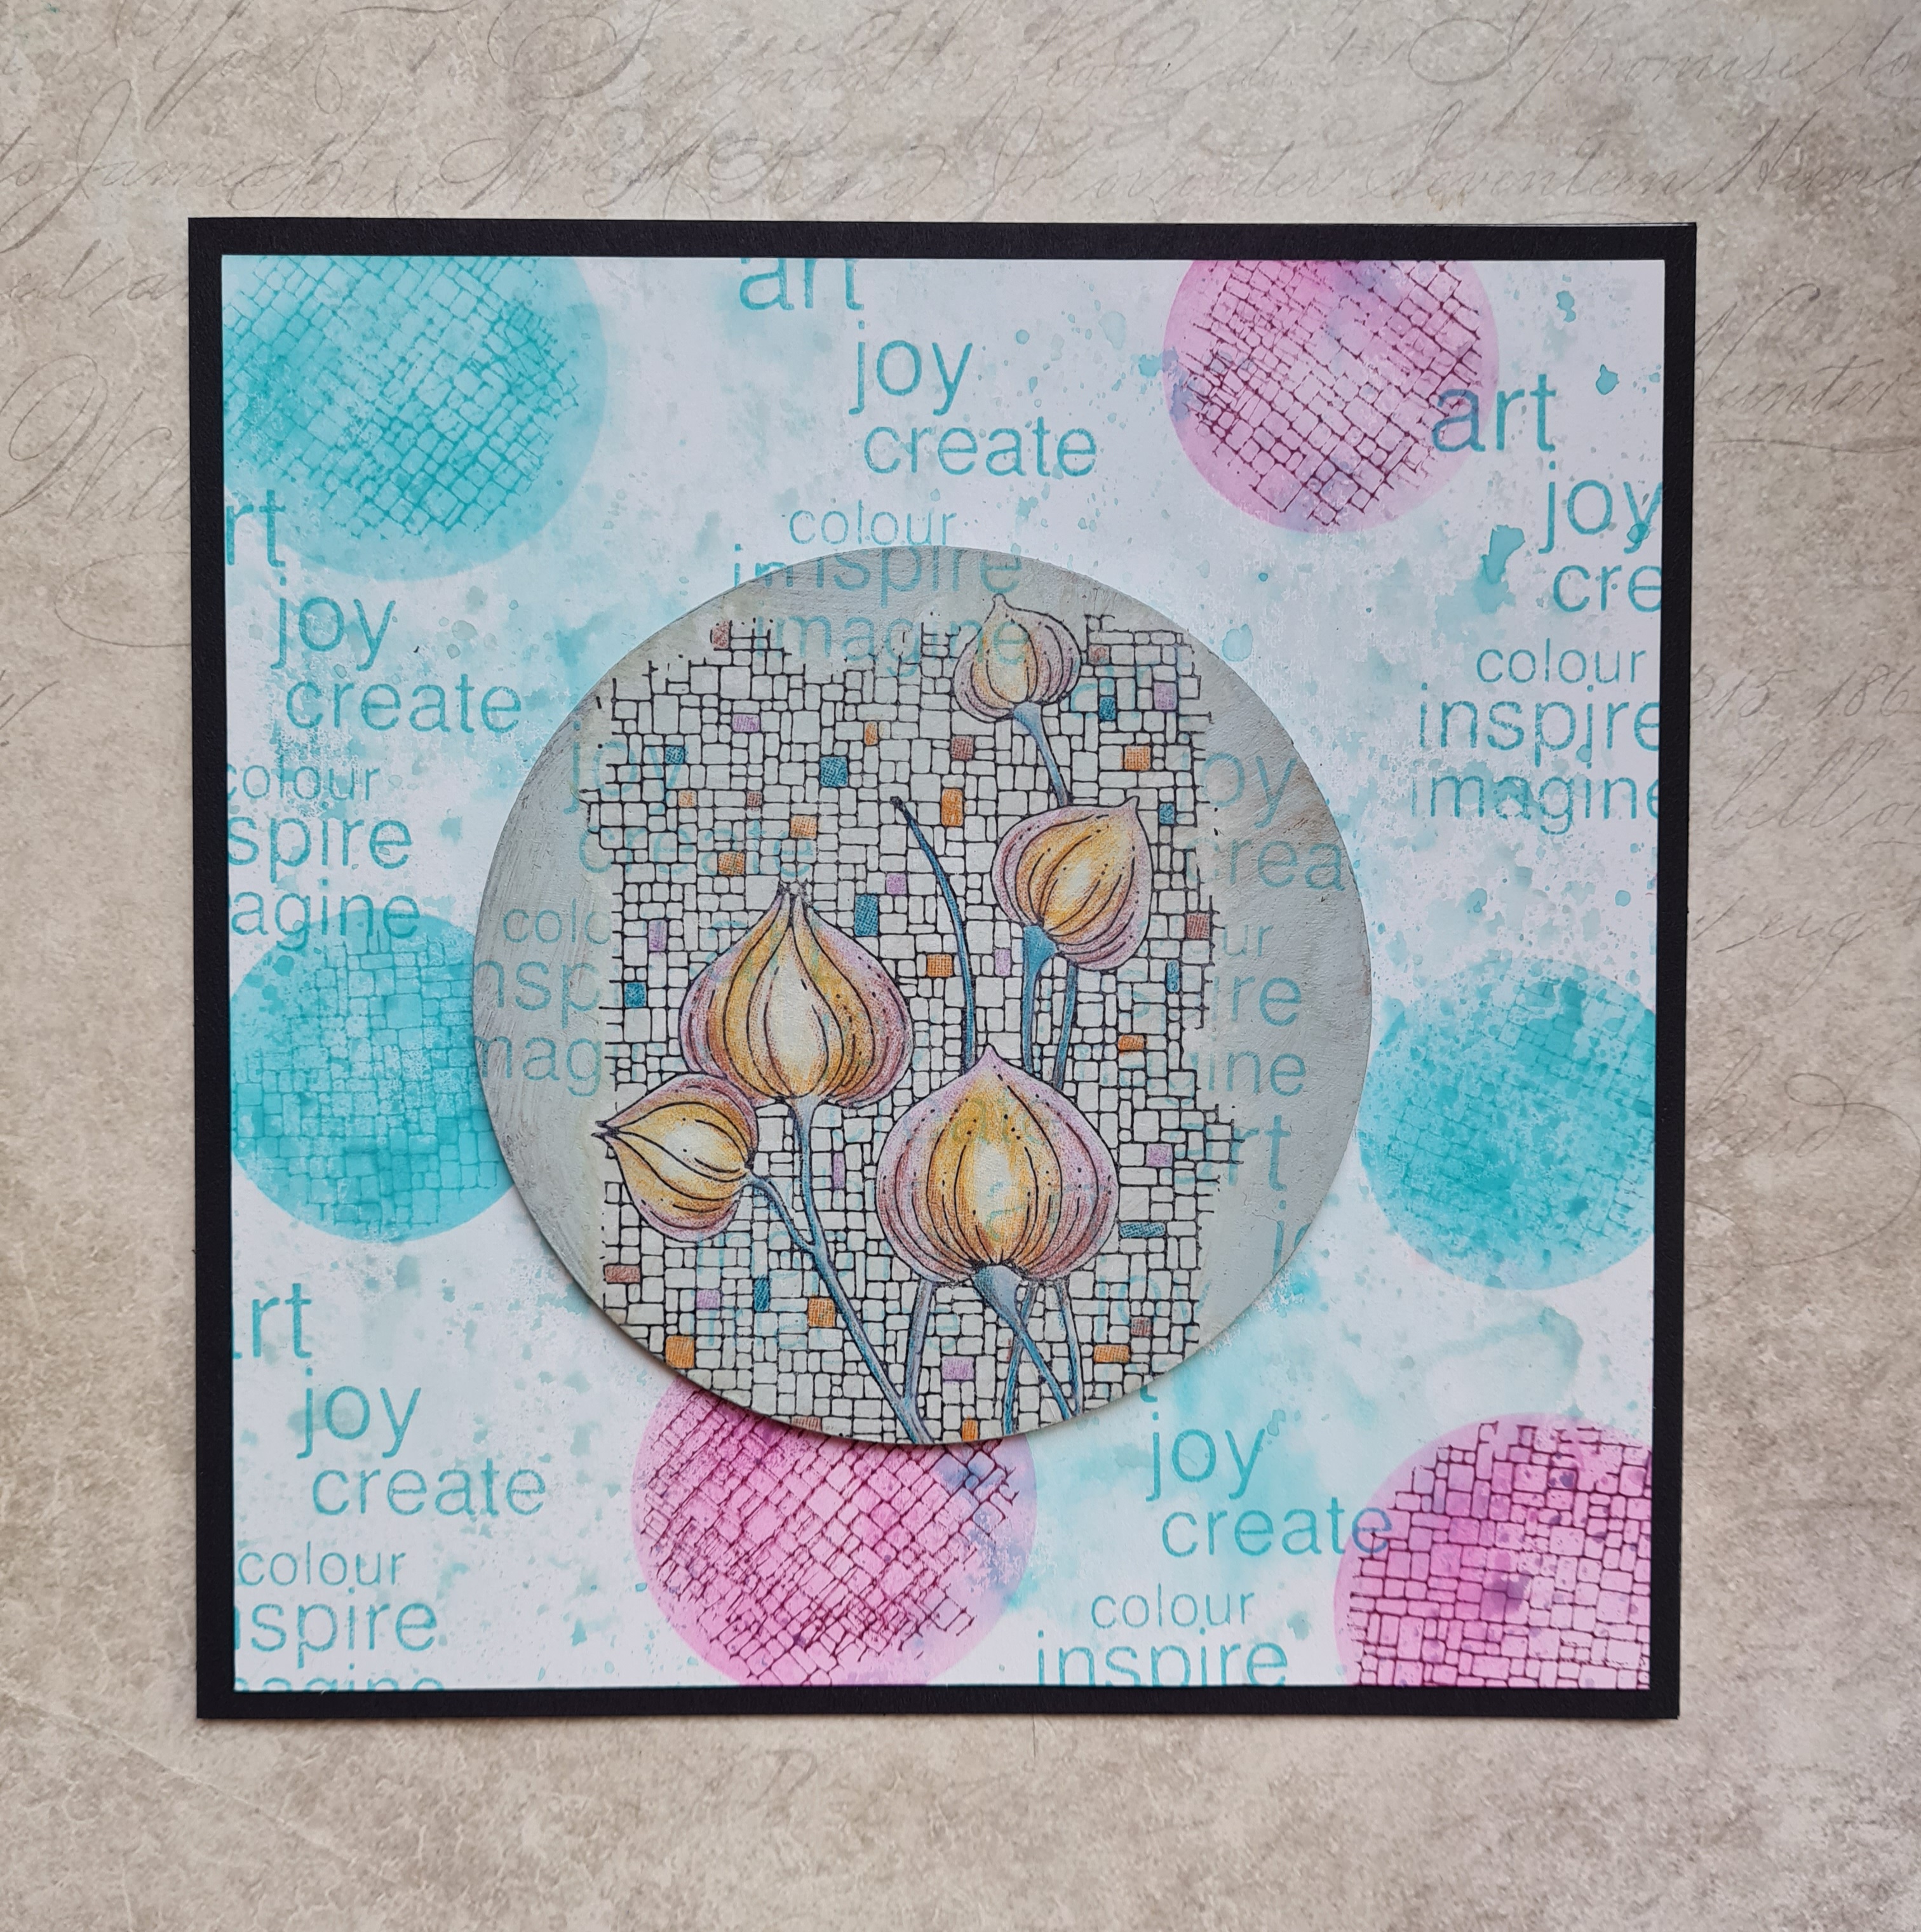
I created a background using Distress Oxides, and then used a stencil to apply colour over the top with blending brushes, and stamped On The Tiles through the stencil with a corresponding colour in Archival Ink. I added some words from the Bird of Joy stamp to the background to finish.

I painted a chipboard circle with acrylic paint, mixing white with a dark green to get the colour that I wanted. I added the same words that I had used on my background over the circle. I stamped the Mosaic Flower onto a piece of tissue paper, and coloured it with pencils, before sticking it to the circle with Matte Medium. I then attached the circle to my background, and used a piece of black card as a mat before adhering the background to a card blank.

I will be back next month with more projects to share with you. Thanks so much for stopping by, take care,

Judith xx


Monday, 21 March 2022

Delightfully Glorious Florals part 2 by Zoe

Good morning Lovelies and welcome to the second post from me this month.
Here are a few more of my samples from last months shows featuring these gorgeous Florals.

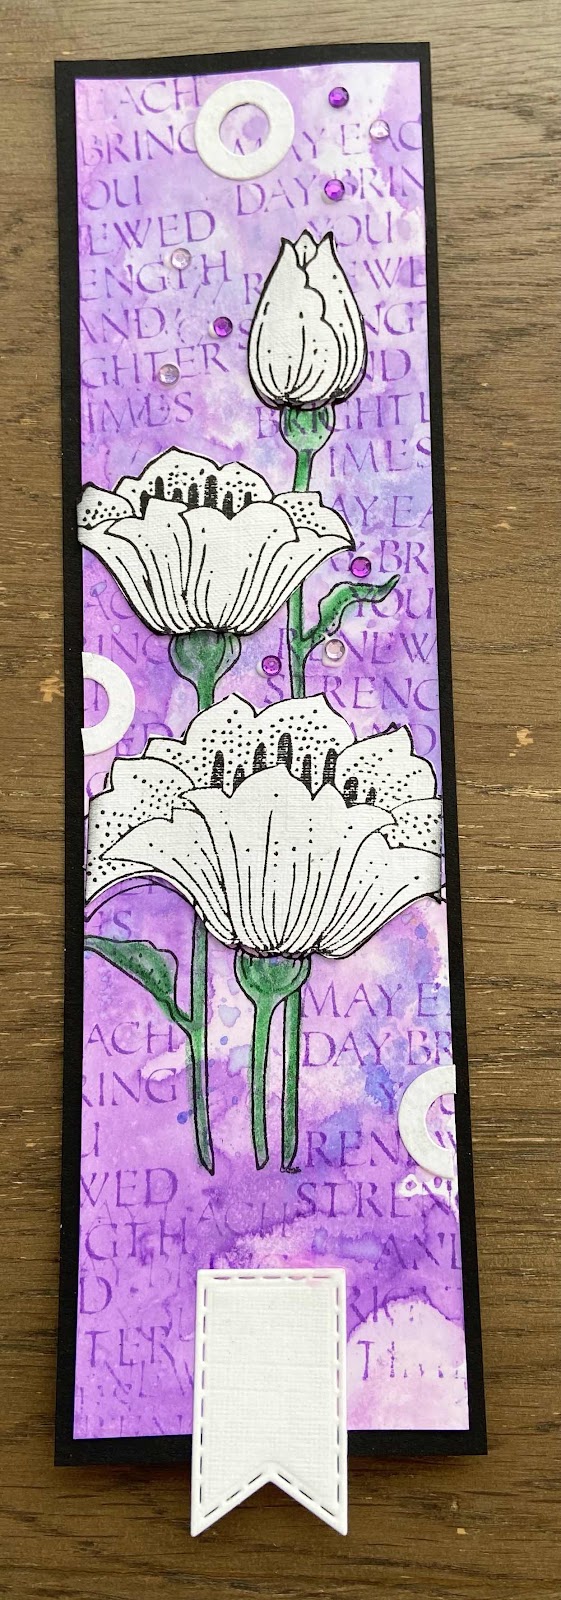
I do love making bookmarks, they are So quick and easy.
I usually make mine 5.5 cm wide by 20cm long.
This one I used Distress Oxides splodged onto a mat and spritzed with water, then mopped up with the card, I used 3 shades of mauve one at a time, drying between each shade, I stamped directly onto the background and coloured using my Inktense pencils and then stamped again on a textured card and fussy cut just the flower heads and decoupaged them on.


Another Distress Oxides background and Inktense pencils creation, I do love the sentiment.


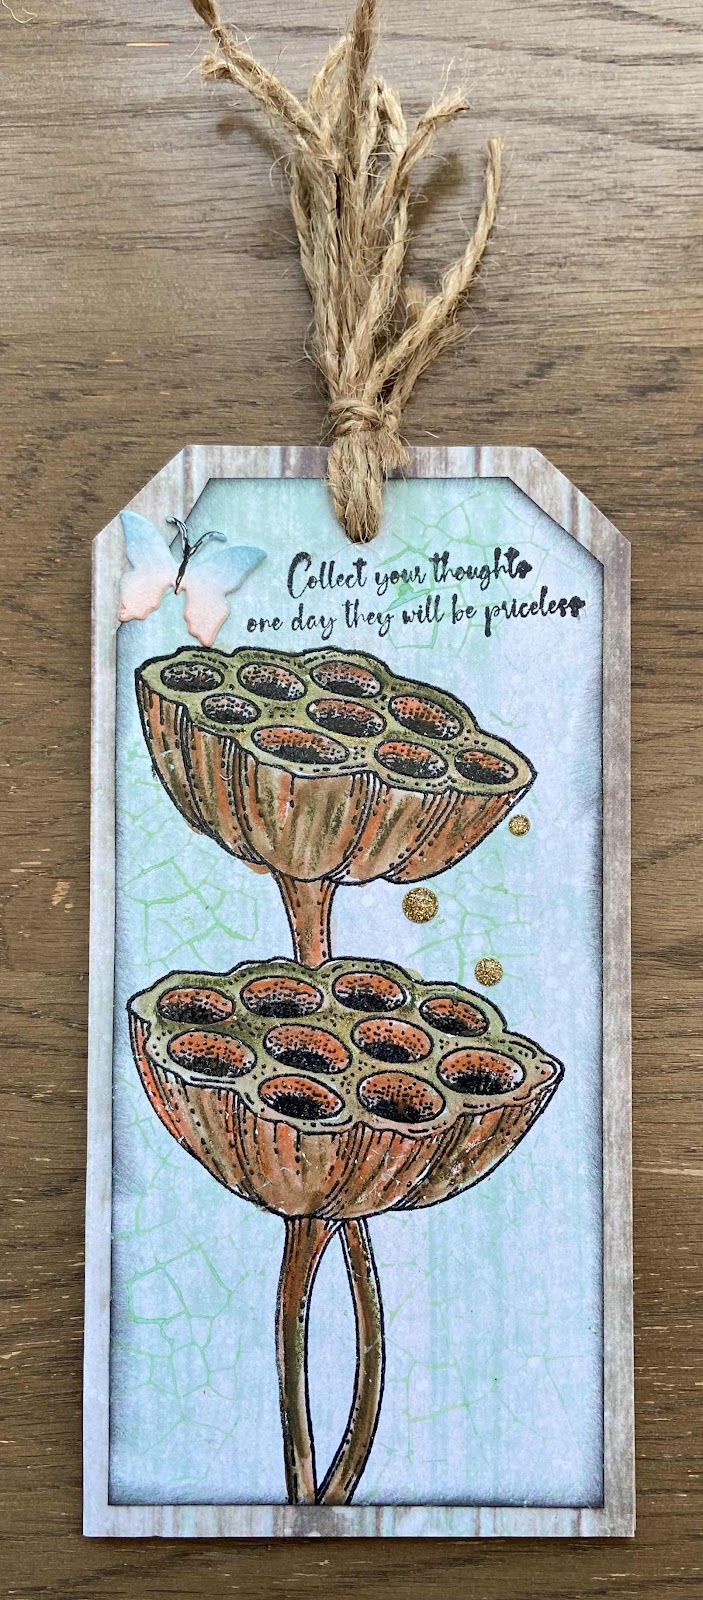
This tag is a Greyboard tag which I covered using same background paper I had in my stash, I don’t often use pre-done background papers but I’ve loads taking up shelf space in my craft room.


Thank you for visiting today, I hope you like my projects.
Have a wonderful day xx Zoe xx

Sunday, 20 March 2022

Tile it With Flowers by Doreen

 Tile It With Flowers

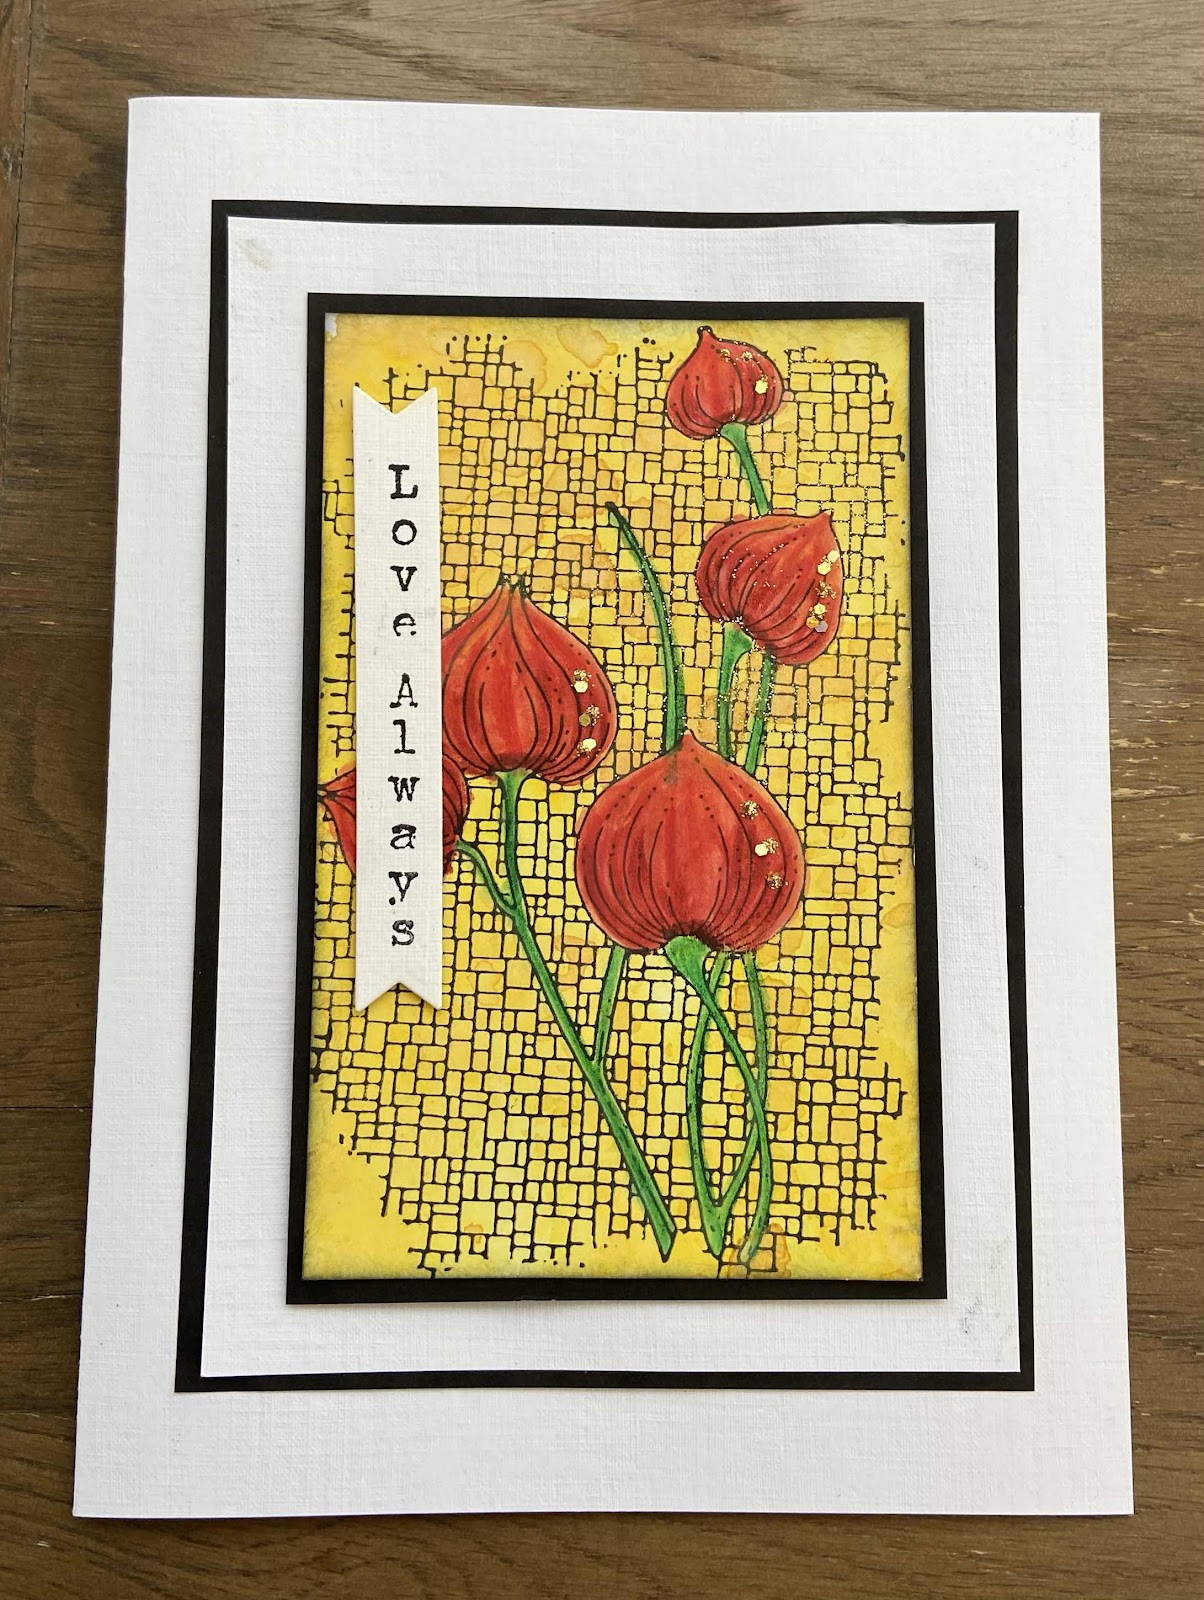
Hello everyone, today I am sharing a simple quick make all it needs is some preparation before either going to bed or the day before making the actual card, this will give the paste time to dry properly.


To start this card I just used a background from my stash which I wiped over with an antistatic bag. I used  ' Have A Magical Day ' from the Say it Vertically stamp set of various useful sentiments. Stamped using a Versamark Inkpad and heat embossed with a Copper embossing powder.

The Mosaic Flower which I prepped the night before peeled away easily from the stamp but where I had been a bit too frugal with the paste left areas behind that hadn't fused together properly but I think it adds to the effect.
To make the image pop I used a Permanent Black Fine liner Pen.

To mount I used a silicone gel.


Thanks for looking in today 

Love Doreen


Saturday, 19 March 2022

Double Page (by Magda) - Blossom and Grow, Sunny Sunflowers

Welcome back,

The explosion of colors obtained mixing Brusho watercolours is a contribution to the coming Spring. For my double page I used Archival Jet Black and the two lovely stamps Blossom and Grow and Sunny Sunflower. 


 I hope you will like my project and will try this layered wash technique. Hugs

Magda

Friday, 18 March 2022

Believe, Wish, Poppy... combining blending and painting by Natalie Ballard.


So this one features an intricate die-cut or two but I want to focus on the main panel first. 

This card uses the feature image of the Wish Flower stamp alongside the sentiment from Words of Comfort and Cheer. Stamp your main image onto smooth thick card using a water resistant ink pad in dark grey or black. It is important that your card is smooth to get a clear outline; but, it also needs to not "pill" when water is applied to it.

The image is painted with gouache paints. These dry opaque and with a chalk-like finish; they also take very little water. To keep your shading on your stamped image, add a little extra water to these areas. I used orange, red and an earthy green shade paint; the orange colour should be darker and more opaque towards the bottom of each petal. Once this layer has dried, you can go over with the red to add shading detail. Painting with gouache is very different to painting with watercolour, so the goal isn't perfectly blended shades, but flat, distinct colour areas. The green areas are built up of different opacities of the green shade. Add spatter in each of the colours and set aside to dry.

Once the panel has dried, you can blend Antique Linen Distress Ink or a similar blending dye ink to tone both the paper and the paint. Now, gouache is not water resistant, so don't brush ink over too heavily. Carry out any trimming or cutting before this ink blending step for the best result.

Using a fineliner, doodle a border around the edge. Many people get nervous while doing this, so here's my top tips: do a double line, purposely go wobbly, and watch where your line is heading and not where you are drawing. You can add twiddly bits, little dashes and stitches or zigzag across wider gaps between your lines.

The card assembly starts with a semi-circle intricate die placed to one side of your card and overlapping the fold. Trim this to the fold and retain the cut off piece. Adhere your panel on next and layer up your sentiment onto contrasting card. Cut two corners from the same contrast card and use these as the top and bottom of the sentiment panel to give a scroll like feel. Tuck under two "ribbons" cut from the two card colours along with the panel offcut. 

The card is now finished but if you want to add a further embellishment you can add a doodle border around the edge of the card.


Thursday, 17 March 2022

Vintage Or Bright's? (By Tracy Thompson)


This is my second post for this month, showing some of my creations from  February's shows.  So let's start with the one above using the seed pod from the stamp set Glorious,  I love this card and loved the process too, my base layer is made using Distress Mica Sprays in three colours , wow does it shimmer.  Then for my main layer I stamped the seed pod onto some Chocolate Baroque's super smooth stamping card, then masked it.  Using Distress Oxides I smooched a background in three colours.  Removing the mask I coloured the image with pencils.  I stamped one of the leaves from the set in second generation around the image randomly.  I stamped out some words from the set, cut them out and inked the edges and adhered them to the card.  I just love the mica base card and then the vintage colours, they suit the seed pod so well I think.


So for my Notelet set I used several of the background stamps.  I used Square Bubbles, On The Tiles, Large Crackle and also I used the Butterfly Mind set and Words Of Comfort & Cheer.
My front cover is created by inking in three colours onto card, then I stamped the crackle background  to cover the whole of the background, then with a white gel pen I highlighted randomly along the lines.  I stamped a sentiment and a butterfly which I cut out but left in black and white for contrast against the bright colour of the background.


Now for the inside of the folder, I created a pocket on one side and layered a backgound on the other side.  Added a sentiment to one side then put some notelet cards which are below and matching envelops into the pocket. 


I created three Notelet cards and three matching envelopes, For each card I used each background stamp over an inky background made using Distress Oxide.  On each card I added detail with gel pens to give interest.  I added sentiments and butterflies to each one.  For the envelopes I stamped in grey the background stamp all over each one.

Thank you for popping by and I will be back near the end of the month with another post

Happy crafting
Tracy x

Wednesday, 16 March 2022

Colourful Song Bird (by Caroline)

Hello everyone.

This is my second post for this month and this card is a bright one. I used the Bird of Joy stamp and coloured the bird and flowers with pencils and a white pen. I didn't use all of the image, as the words I used are different than what was on the bird stamp. I used a sentiment from the Words of Comfort and Cheer stamp set. As you can see, I cut the kraft card down close to the image to make a smaller card.

Hope you're all having a great week, and I'll be back next week for my last blog post. Bye for now,

Caroline xx
 

Tuesday, 15 March 2022

Allium blueprint (by Miranda)


Hi there crafty people,

Miranda here with a new blog post using the beautiful 'Allium blueprint stamp set'. I really love these blueprint stamps and all of the geometrical patterns. The combination of the elegant flowers and the architectural elements are beautiful, I think.

This time I have worked on colored paper which is great for pastels and colored pencils. I have combined the design with a circular shape using a die cut circle stencil.  Just added some white and violet pastel pencil, spattered some white acrylic ink  and a subtle coloring of the flowers. No nee for very labour intensive coloring. 


Thanks for your visit and always enjoy reading your comments or questions,

Till next time, stay crafty


Monday, 14 March 2022

floral delight (by Veronica)

Apologies to Lesley and anyone who checked this morning - no idea what happened, only way i could fix it was to start again!

Two samples using the floral delight stamp from last month's tv show, both pretty simpple.

The first one was simply stamped onto black card in versamark ink and gold embossed, then the flowers painted with some very ancient iridescent paint. A gold mat and mounted onto a 7" square white card blank, with space for a sentiment on the right.

The second has a distress oxide background , sponged in salvaged patina and twisted citron then the image stamped using black versafine ink and clear embossing powder. The flowers were coloured with pencils. The words from wish flower were stamped randomly round the flowers using a clean versamark ink pad - more to add interest rather than to be readable! I rubbed over the background with a tissue to remove some of the background ink, then dragged the edges over the black inkpad. This one was on a 6" square white card blank

Saturday, 12 March 2022

Fabulous Flowers by Sandra


Hello everyone.
I am sharing some more of my cards from the February shows on Create and Craft.

For my first card I have stamped one of the flowers from the Glorious stamp set onto black card and embossed in Gold embossing powder. I have then coloured the flower with shimmer paints and added a border from Modern Textures and a Sentiment from Say it Vertically. I have mat and layered onto some gold card and then onto a 7x5 card base.


My next card uses the same floral image which I have stamped twice and fussy cut. I created a background from a master board I made using Distress Inks and On the Tiles, Square Bubbles and Large Crackle Background. I cut a piece down to fit onto a 7x5 card base and added the flowers on some foam pads to give some dimension. 
                                            ,

For my next card I stamped the second floral image  from the Glorious stamp set.  I coloured the flower with Distress Inks. Using the left over ink I made two little border strips and added a background using the smaller stamps from the set. I finished by adding gems and die cuts.

For my last card today I stamped the flower from Glorious in Memento Ink. I then coloured in different shades of grey alcohol markers and added corners stamps from Nature Swirls.


 Thanks for looking

Sandra x 

Friday, 11 March 2022

Mini Cards (by Judith)

Hello everyone, I hope that you are keeping well. I have a trio of cards to share with you today using stamps from last month's TV shows.

I have made some little 4" x 4" cards, I really like this size of card, as they are lovely to send as a Thank You card, or just to cheer someone up when they are feeling down. They are perfect for gift tags too, or for popping a voucher or money inside.

I made a gelli print as the background for all three cards in various colours, using Distress Inks, and stamping on the gelli plate with a texture tool to create an interesting patterm before I pulled a print. For one of the cards, I then used the Square Bubbles stamp all over the background, using Versafine Clair ink in a lovely Teal colour. I added a couple of the butterflies and a sentiment from Butterfly Mind and also decoupaged the butterflies, using some Drawing Cartridge that I had coloured with Distress Ink picked up from my craft mat.

For the second card, I randomly stamped the largest butterfly around the edge of the background using black ink, and added another sentiment in the centre.

For the final card, I added a sentiment horizontally and vertically, and then used the smallest butterfly to fill in the gaps. Finally I took the splatter stamp in my hand and added sections of it in between the other stamps.

I hope that I have shown you just how versatile these stamps can be. Even though these cards are small, you can use these ideas on your bigger cards, they will work just as well. I will be back later in the month with more ideas to share with you. Take care, and thanks for stopping by,


Judith xx


Thursday, 10 March 2022

Delightfully Glorious Florals by Zoe

Good morning Lovelies and welcome to my first post this month.
Today I’m showcasing the samples I made for months shows.

My first project I made out of this ATC and Envelope die set. I just coloured using Distress Oxide’s and the flowers are coloured using Inktense pencils.


This card was also using Distress Oxides on Bubblewrap and Stamping the sentiment in the background. The flowers and bird were coloured using my favourite, Inktense pencils, I just them.
Bit of a mixed media card.


I hope you like my samples. Thank you so much for visiting.
Have a wonderful day xx Zoe xx

Wednesday, 9 March 2022

Spring Flower (by Caroline)

Hello everyone, today sees the first of three posts this month from our Guest Design Team member Caroline Whatling. Caroline has created a beautiful floral themed card for your inspiration. Caroline writes:

Hello everyone.

It's my turn to blog this month, and I can't believe it's March already!!! I'm looking forward to Spring and all those gorgeous spring bulbs flowering. Talking of flowers, this week's card was made using one of the main flowers from the Glorious stamp set, and the background is the individual leaf from the same stamp set. I coloured the images with pencils and a white pen. I adore colouring florals, so these stamps are right up my street. 


Hope you all have a lovely week. Bye for now,

Caroline xx


Tuesday, 8 March 2022

Double Delight by Doreen

Double Delight

Today I would like to share with you this card, I do like long slim cards. 


This card uses the Floral Delight  stamp set which is a single floral image. If you like one half of the photo above.
The background was coloured first using Distress Inkpads and blending brushes.
I then stamped onto Masking Tissue but not stamping the sentiments.
I splashed the background with water and then blotted with a tissue, quickly check this is dry by a brief heat gun dry.
Take a Black Inkpad to stamp one side of the card ( I have used Momento Tuxedo Black) then apply your cut out mask to the image and re-ink your stamp and line up as well as is possible with the image on the card slightly overlapping the stems this will not matter if it doesn't line up as well as you would like if you use an embellishment or stamped butterfly, maybe a a bow if you wish.
I used coloured pencils to colour the images.
With some of the card cut from the initial coloured card stamp your sentiments and cut them out, using a Black chisel ended permanent marker edge the card and sentiments. Apply to card separately on foam tape.

Thanks for looking in today 

Love Doreen


Monday, 7 March 2022

Stained Glass Window ( by Magda) - On the Tiles, Pretty Poppies, Words to Dazzle & Sparkle

 Hello,

I am starting today a new Journaling and I share with you the inspiration I had watching the TV show of Chocolate Baroque on The Craft Store Channel. 

At first I stamps the poppy of Pretty Poppies rubber stamp sheet A5  using Archival Jet Black, after that I divided the page in 8 unequal parts, stamped accordingly the individual stamp On the Tiles,  marked each section with a waterproof black pen and colored the page with watercolours. I let all dry and finished the page attaching the sentiement using Words to Dazzle stamp.


Thanks for passing by,  hugs

Magda


Sunday, 6 March 2022

Panelled Blending by Natalie


Today's card is all about healing thoughts: whether someone is under the weather or having a rough time. Today is a bad day for me as it marks a sad anniversary, so here's a little colour tip to brighten all our days.

Panel Blending

For this technique you will need some blending tape. You could use some low tack masking tape but it can be tricky to find it in narrower widths. Start with an A6 card panel. Use a wider width masking tape around all 4 sides; this ensures an even border around the panel without measuring. Use a narrower tape to mask the spaces between; you can do this by eye, or measure for accuracy.

Use scrap paper to cover the panels you aren't currently inking. With a blending brush and ink, start at the top of the outside panels and from the bottom in the centre panel. With a flicking motion sweep along the length of the panel from your starting point to create an ombre blend. Here's I used Peacock Feathers, Squeezed Lemonade (with a little Wild Honey) and Picked Raspberry.

Using worker stamps from the Glorious stamp set, stamp an image to the bottom of each panel without removing the masking. Black ink can go a little cloudy over Distress Oxide, so be sure to use a strong black hybrid ink pad.

Assembling the Card

Stamp and emboss in white your desired sentiment; mine was from the Words of Comfort and Cheer stamp set. A detail embossing powder typically works better for sentiments.

Mount the A6 panel onto a slightly larger piece of aqua or teal cardstock before mounting the entire panel and sentiment onto a 7x5" card base.

Saturday, 5 March 2022

Glorious Floral Delights (By Tracy Thompson)


This is my first post for this month using the fantastic stamps that were shown on one of the February's shows.  So first I would like to show a book I created using the following stamps - Mosaic Flower, Bird Of Joy, Floral Delight, Wish Flower and Glorious.
So all my images were layered onto black card and added to the book, for the front cover I stamped the Mosaic Flower but upside down so it looked like the Chinese lantern plant, I stencilled in the background and coloured the image with pencils.  I added the words and did some highlights with a white gel pen.


The above pages and the ones below were done very much the same as the cover, only when I did my stencilling I masked down each side and only stencilled in the centre.  I wanted to stamp my images to the side for a different look and to get the benefit of the stencilling.  Each image was coloured with pencils in co=ordinating colours to the stencilling.  

For my next creation I made a large tag, using a die I cut the tag set which is a base, top layer and the eyelet covers.  


I coloured the base tag in Distress Oxide in a matching colour to the the colours in the top layer.  The top layer I smooched several colours for the background, then using the Butterfly Mind stamp set I stamped the main image, then stamped again on spare card, coloured the butterflies then cut them out.  On the background I added words from the set and splatters too.  I added the Butterflies, decoupaging onto the main image.  And finally some glitter was added to the Butterflies.

I will be back later in the month with some more creations from the Chocolate Baroque show, thank you for taking a look.

Happy crafting
Tracy x

Friday, 4 March 2022

blue and yellow wishes (by Veronica)

Today I  have two versions of cards using the wish flower stamp,  the first using my favourite brusho powders.

I created the background using yellow and blue brusho powders, sprinkled over the card and spritzed with water. Once dry I stamped the wish flower onto the paler area using black versafine ink and clear embossing powder.  The embossing was because I used bleach to remove the colour from the flowers.

Trimmed to a square, then mounted onto black before adding to a 7" square white card blank


The second version used a similar colour scheme, but his time sponged with distress oxide inks in salvaged patina and twisted citron for a paler  effect. The words wer randomly stamped on the background using versamark for a shadow effect. 

The stamped image was again embossed, coloured with pencils this time and with a narrower black mat
 

Thursday, 3 March 2022

One Stamp , 3 Ways by Sandra

Hello everyone, today I am sharing three of my cards from the February show on The Craft Store which is now known as Create and Craft.

I used the Mosaic Flower stamp set and it is so versatile.
Sentiments are from Say it Vertically

For my first card I have used alcohol markers and coloured some of the Mosaic background in bright, summer colours and left the flowers uncoloured. I have mat and layered onto a 7"x5" card base using coordinating colours of cardstock. Great for a birthday card.

For my second card I have used soft purple markers to colour the flowers and added some green to the background. I found this combination very peaceful and ideal for those difficult cards we have to make sometimes.  I have mat and layered onto a 7"x5" card base.


My last card today is coloured in vibrant reds, which could even be adapted to a Christmas card!

I have made this card 8"x8". By adding just a small amount of detail around the main image it makes a lovely larger card.  Detail stamp is from Modern Textures


Thank you for looking

Sandra x


Wednesday, 2 March 2022

February Blog Comment Winner


Hello and welcome to the Chocolate Baroque Design Team Blog.


We truly appreciate the time you take to let us know your thoughts about our designs, so each and every comment is very important to us.


Each comment in February was assigned a number and we used Random Org to draw a winner.


Congratulations to FAITH you have won this month's £15.00 voucher to spend on Chocolate Baroque stamps.

To claim your prize, please email here to confirm your email address and Lesley will send your gift certificate.


Lesley will be giving a £15 gift voucher to another lucky winner drawn from the March comments.


The more comments you leave, the better your chances of being the winner.


Thank you so much for all the kind comments you leave.


Good luck from all on the Design Team


Here is another chance to see the beautiful creation by Lorraine.


Tuesday, 1 March 2022

Butterflies on Film (by Judith)

Hello everyone, I hope that you are all keeping well. I have a couple of projects to share with you today, showcasing stamps from last month's TV shows.

My first project was created by covering a piece of Drawing Cartridge with a wash of cold tea. This is a really quick way of adding a vintage look to your backgrounds, and I tend to colour several sheets of paper at a time, let them dry and save them for another time.

I stamped the film strip from Butterfly Mind down the background, and masked the background, leaving only a segment of the film strip uncovered at a time, so that I could stamp a portion of a butterfly into the area. I moved along to the next portion, covering where I had stamped previously, and rotated the butterfly, for a different angle.

I added the splatter stamp from the same stamp set to the background, using two different colours of ink. I coloured the butterfly wings in toning colours, to match the background splatters. The sentiment also comes from the same stamp set.

The following two projects are not new, but I thought I would share them with you again. I have used the film strip from Butterfly Mind once again, but added it to one of the fabulous flowers available from Chocolate Baroque, Floral Grunge. The film strip helps to create a fabulous collage effect, and with the use of Masking Tissue over the flower, was really easy to create. 

Finally, I created a bokeh effect background over some Brushos, using a stencil and white ink, then added three brightly coloured butterflies from Butterfly Mind. By choosing a contrasting colour for the background, the butterflies really pop.

I will be back soon with more projects to share, thanks for stopping by,


Judith xx